I’ve recently posted about our home, in which we’ve completed a few DIY projects, such as renovating the garden and building a small loft conversion (amongst other things!). Today I’m writing about a project we did on the bathroom in the house.
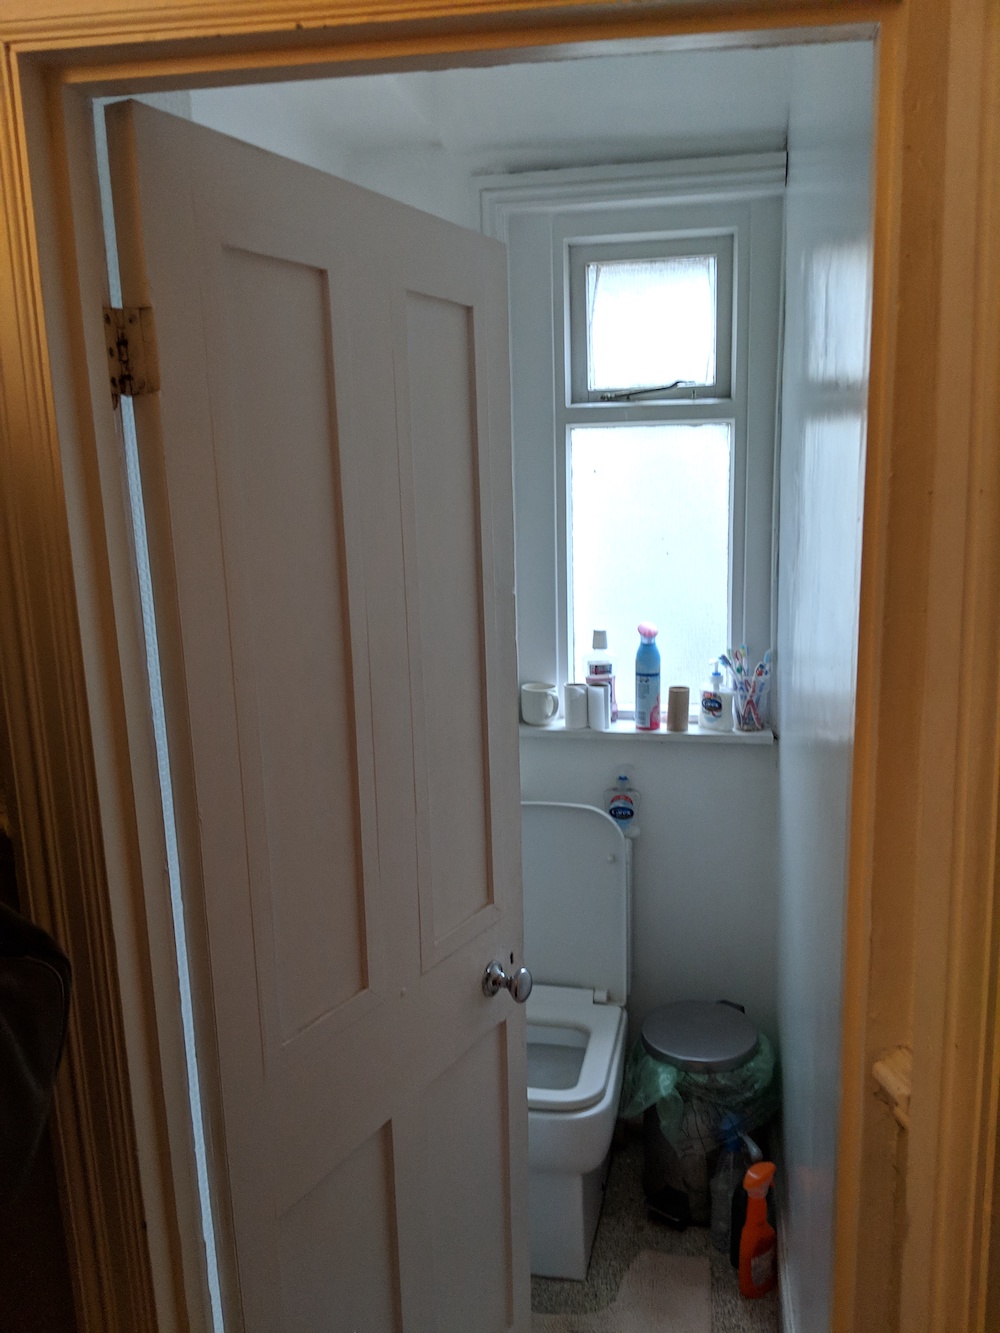
When we first moved into the house, which was an old student dwelling in disrepair, the first floor had a stange configuration containing a separate toilet and shower room. Both of these rooms were tiny, old, and damp. There was no space for a bath and also no window in the shower room and the extractor fan didn’t work.
In this post (complete with images) I will walk through the changes we made in order to turn this into a more liveable bathroom. We are by no means experts, but we managed to do the project pretty much by ourselves, with a fair bit of Googling and only one plumbing mishap!
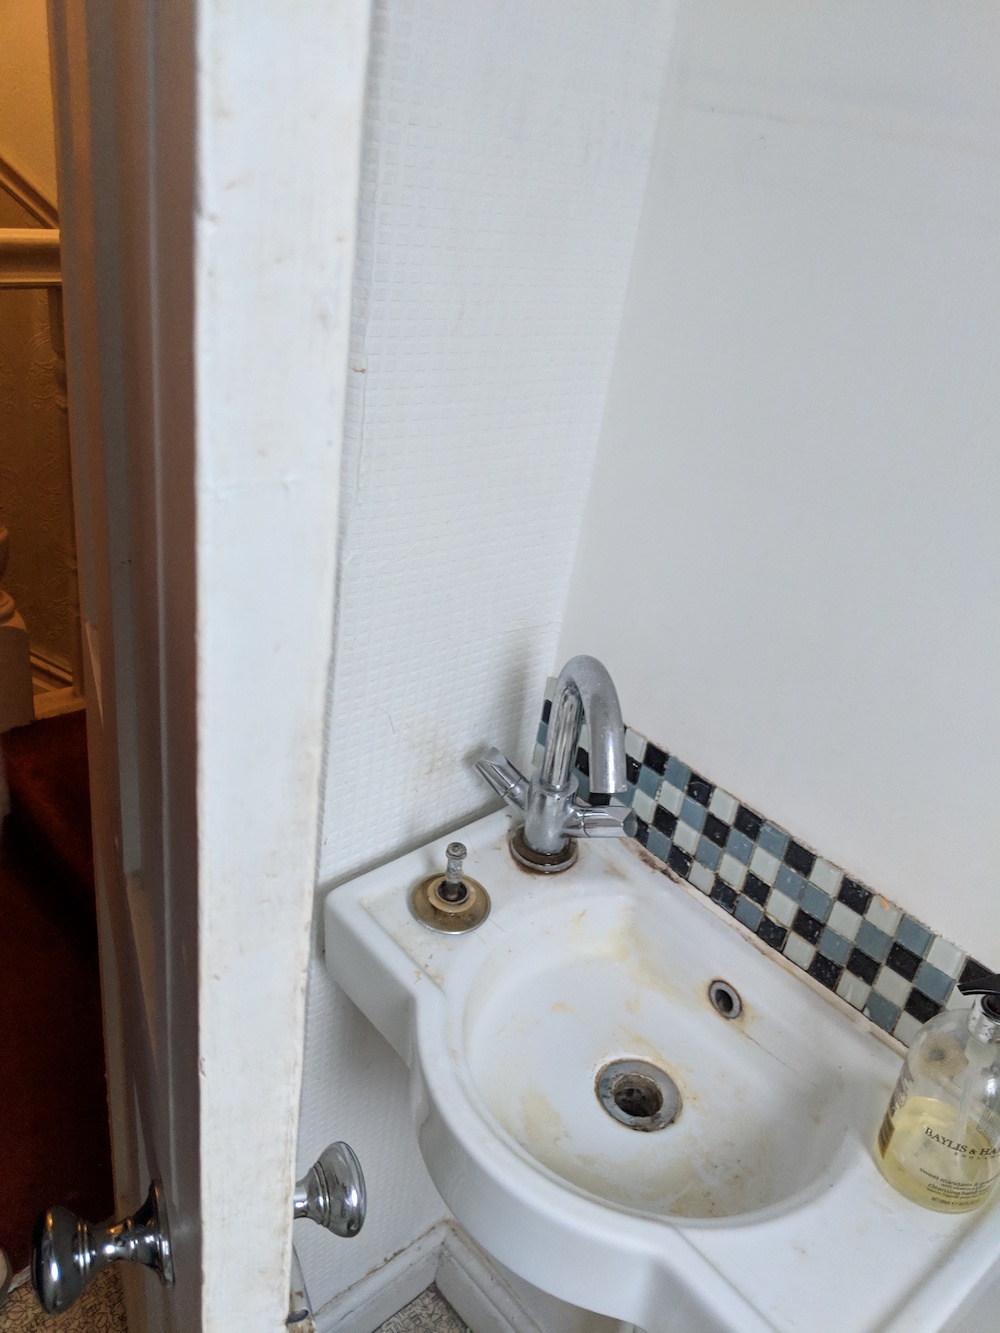
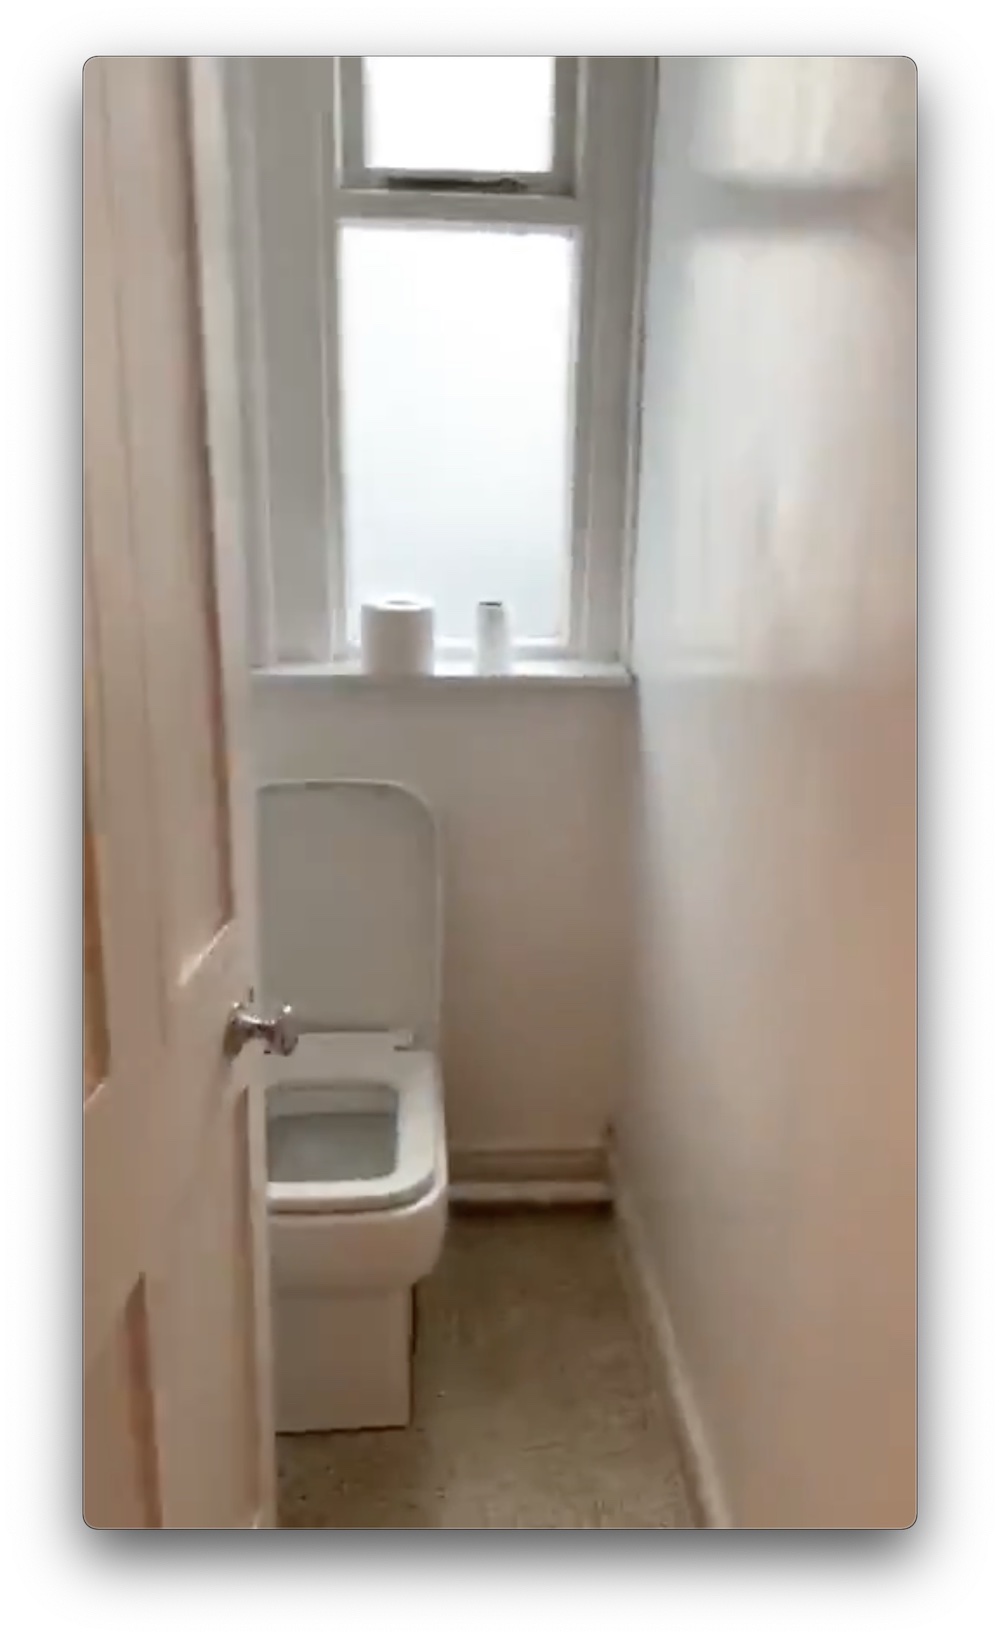
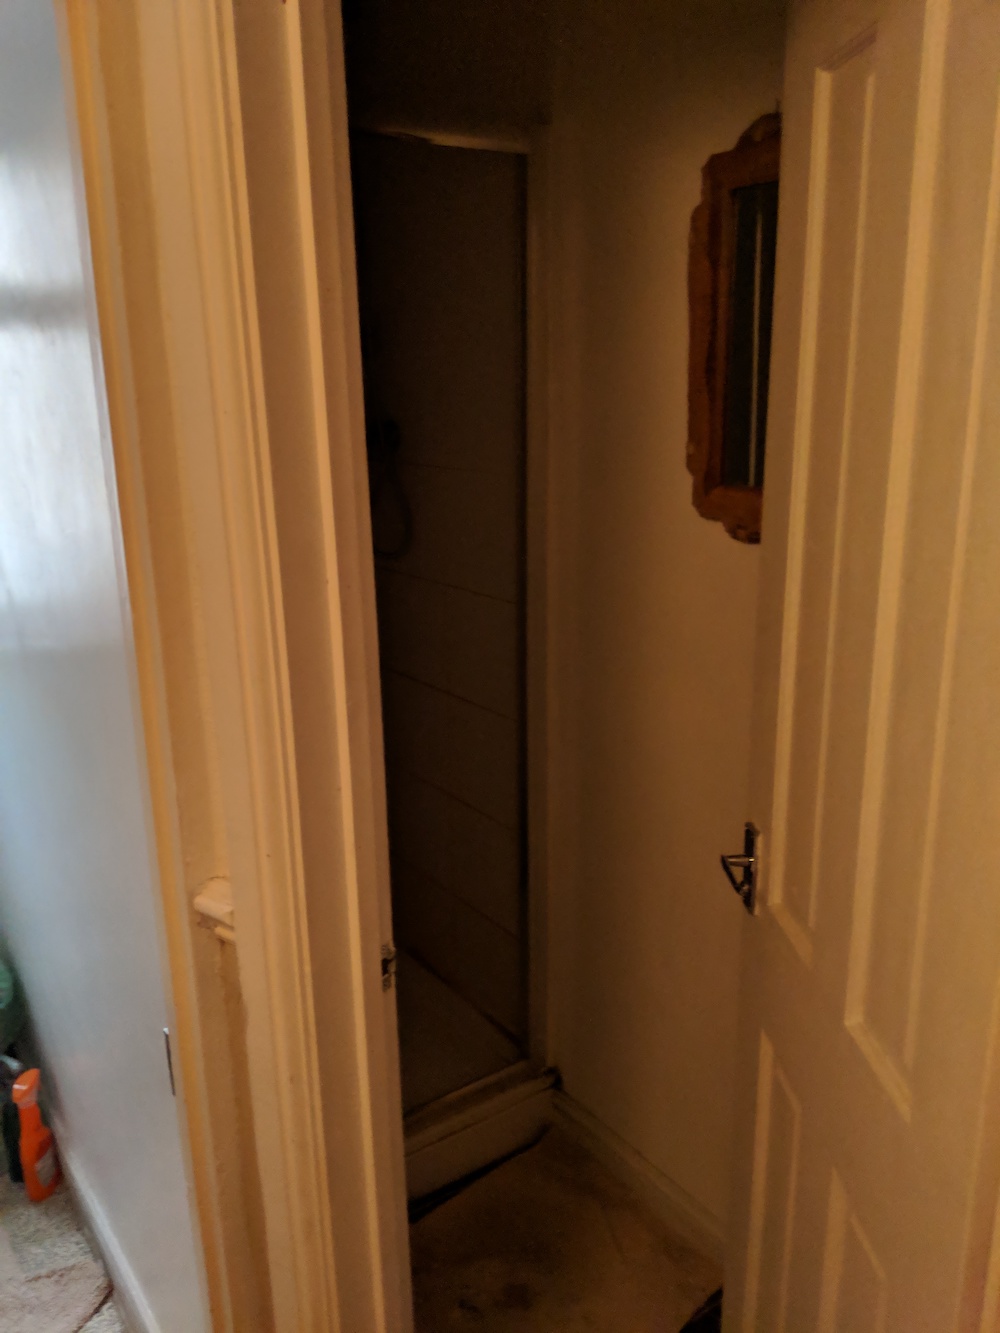
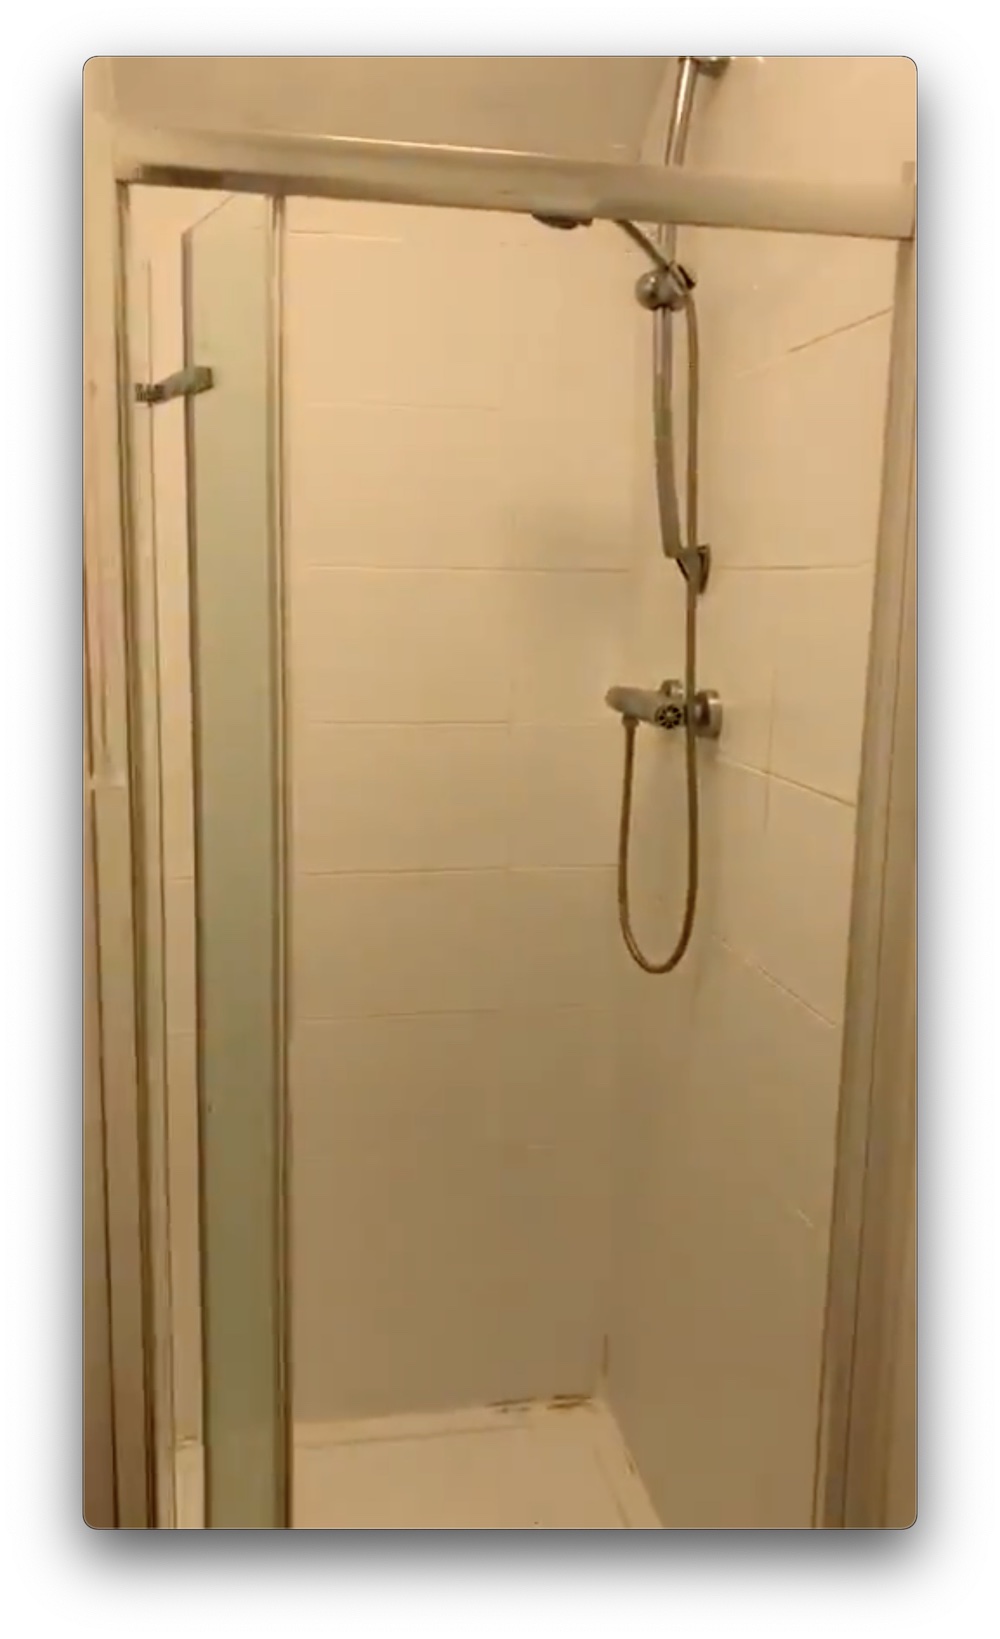
Initial state
These images were taken from when we first viewed the house and also the first day we moved in. You can see the grotty toilet, shower, and the small, gloomy rooms.
Knocking down the walls
One of the aims of the project was to create one single room containing a toilet, shower, bath, and sink. This meant that the first thing for us to do was to join the existing toilet and shower rooms together, as well as to take part of the bedroom next door.
Luckily these were all stud walls, so aside from the mess, this wasn’t too much of an issue given a bit of muscle and a sledgehammer.
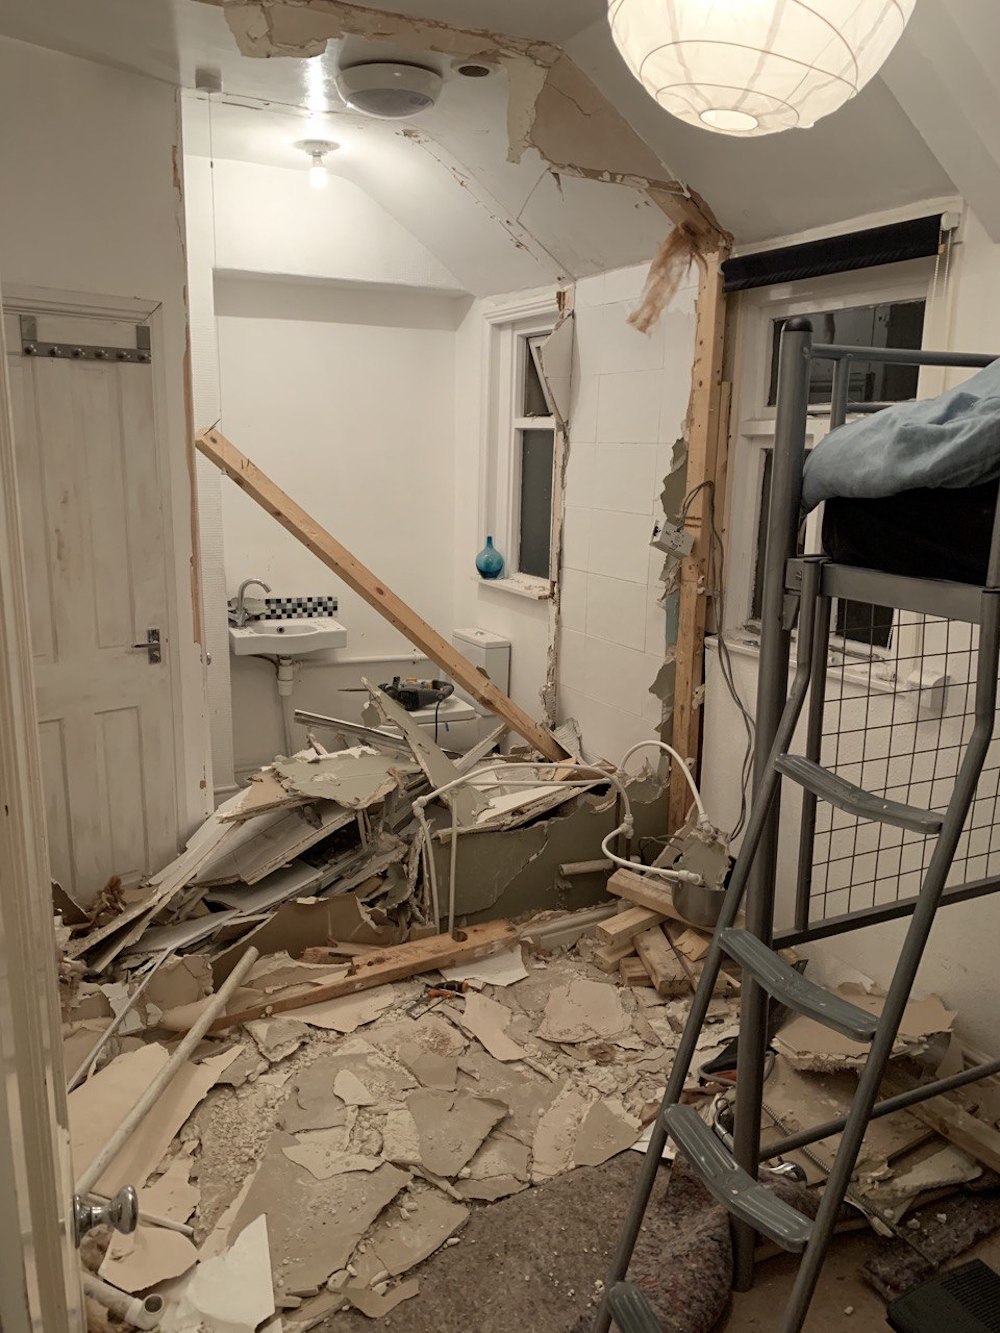
In the image below you can see where the previous toilet and shower rooms were. And the remains of where the two walls were. We took an extra window from the bedroom too.
Sorting out the plumbing
To knock the walls down we needed to turn the mains water off to the house in case we damaged any pipes.
We then needed to remove the shower fittings and tray properly, and correctly cap all exposed water inlet pipes.
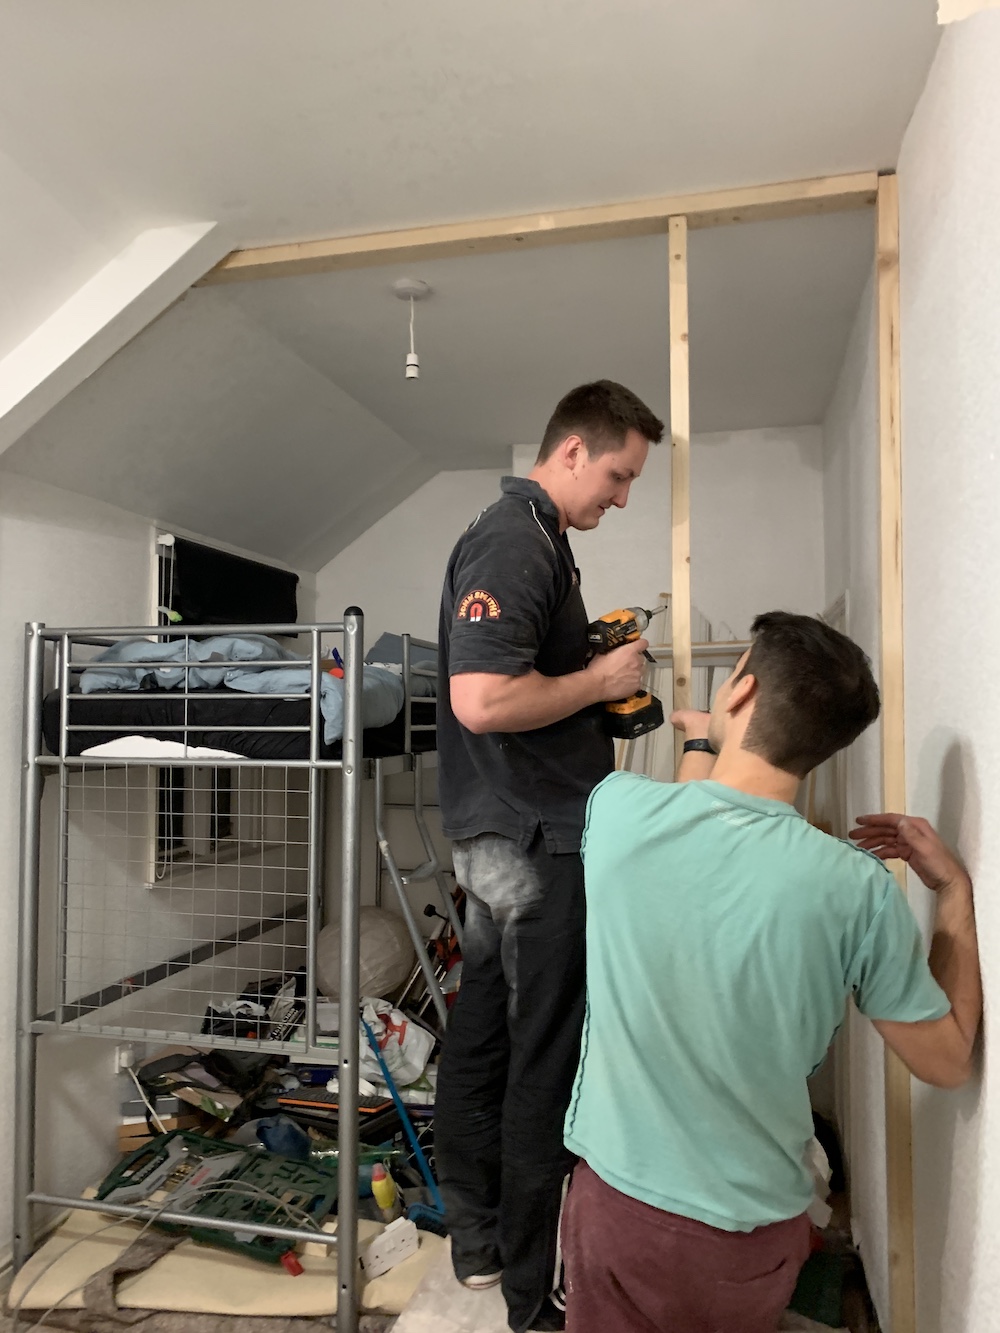
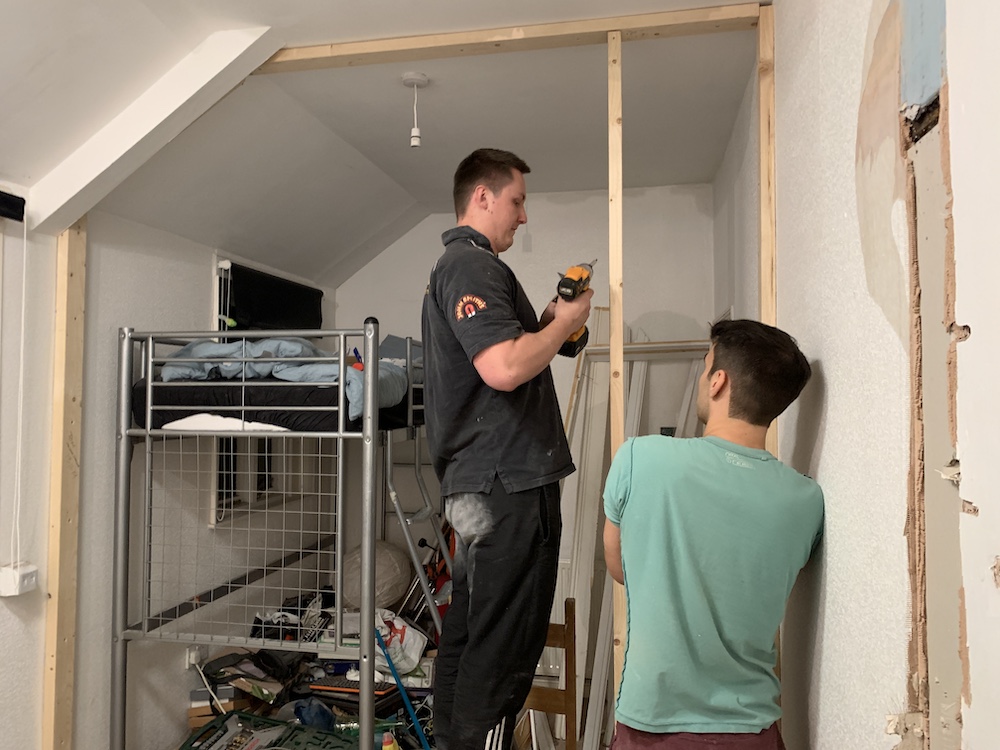
Building the new wall structure
We needed a wall between the new bathroom space and the bedroom (for obvious privacy concerns). For now we just built the structure and would come back to finishing it off later with the plumbing.
Trying to get the bath in
Probably one of the most challenging parts of this project was getting our ridiculously-shaped new bath into the room.
In the picture below you can see the two doors into the bathroom. We would later build over the one we (eventually) got the bath through!

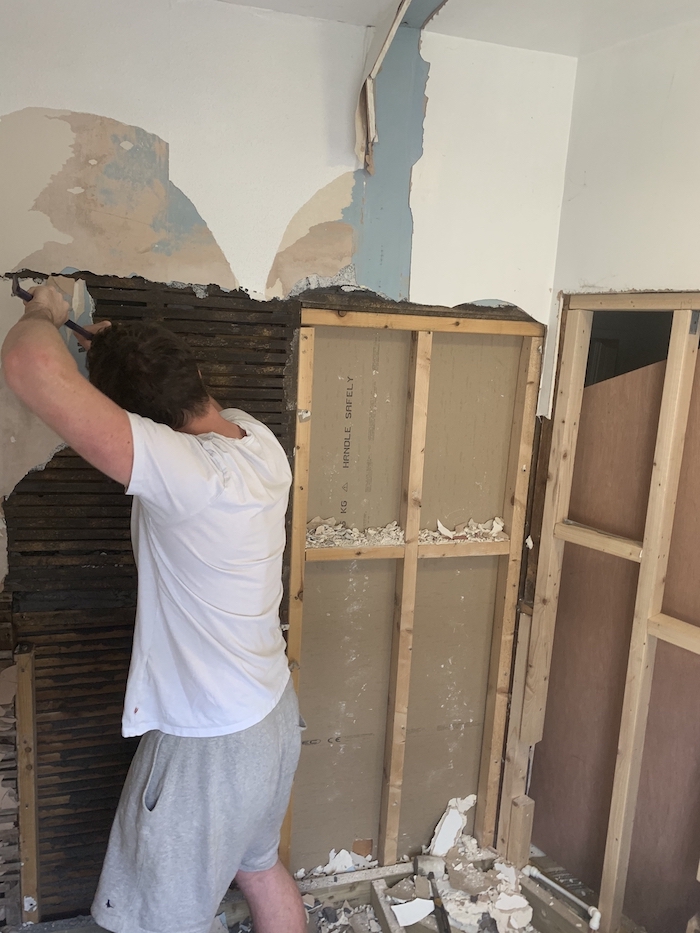
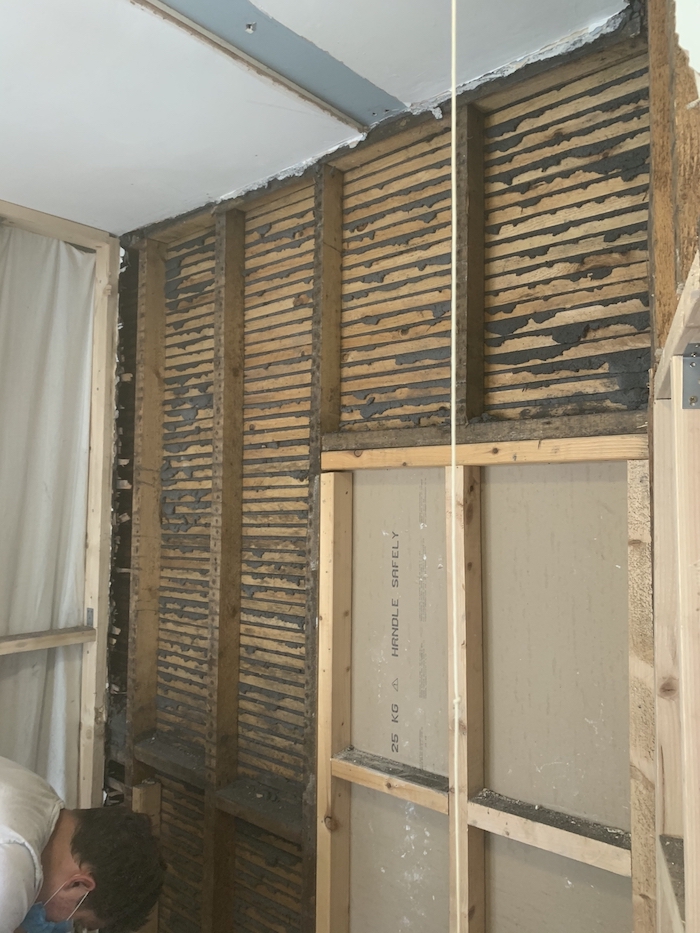
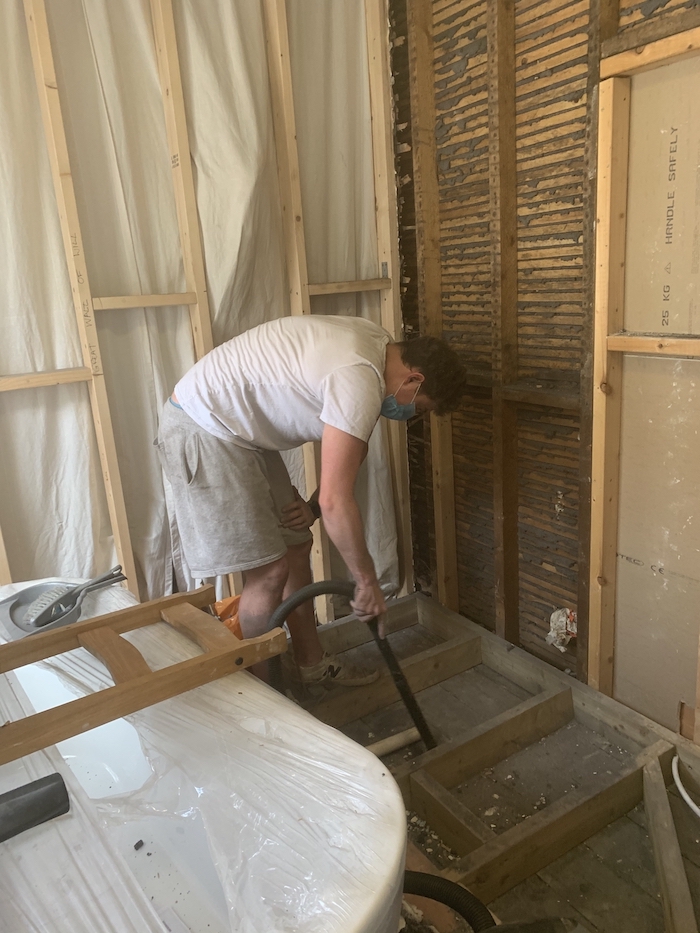
Taking down the old plasterboard
Removing the walls had caused damage to the old plasterboard. We also wanted to replace some of this with moisture board instead in order to make the walls more water resistant.
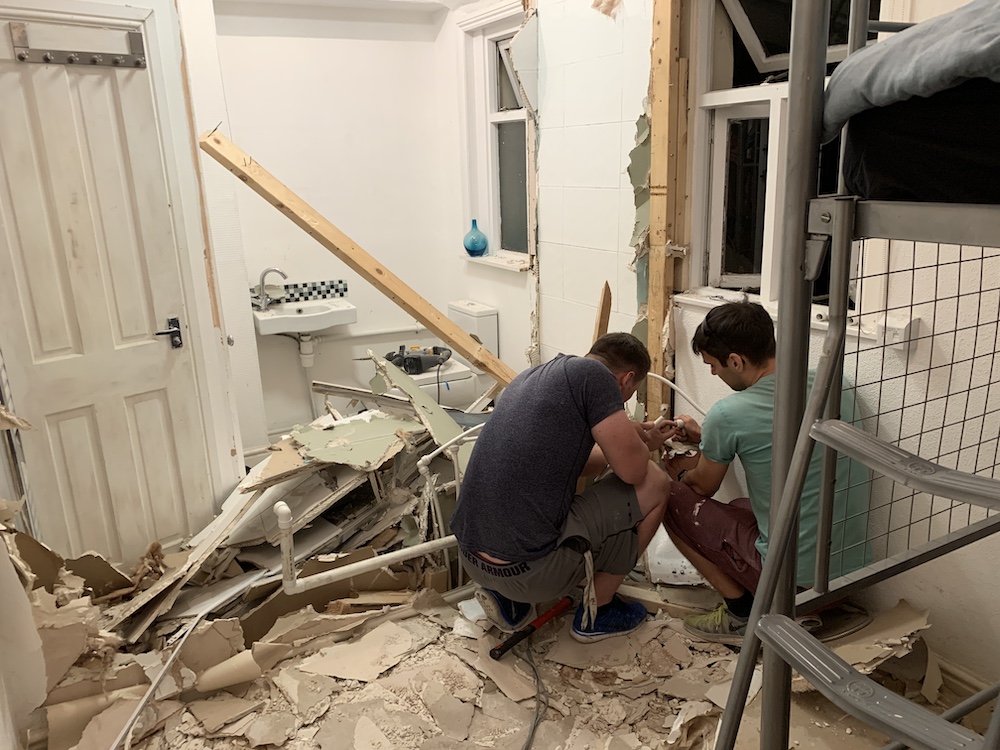
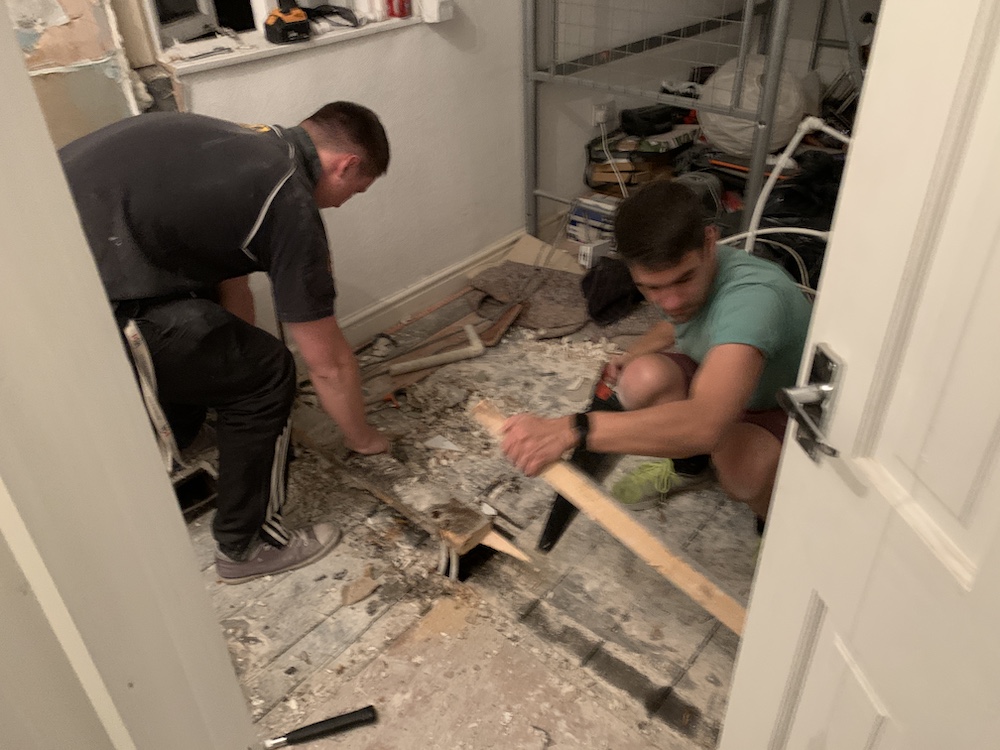
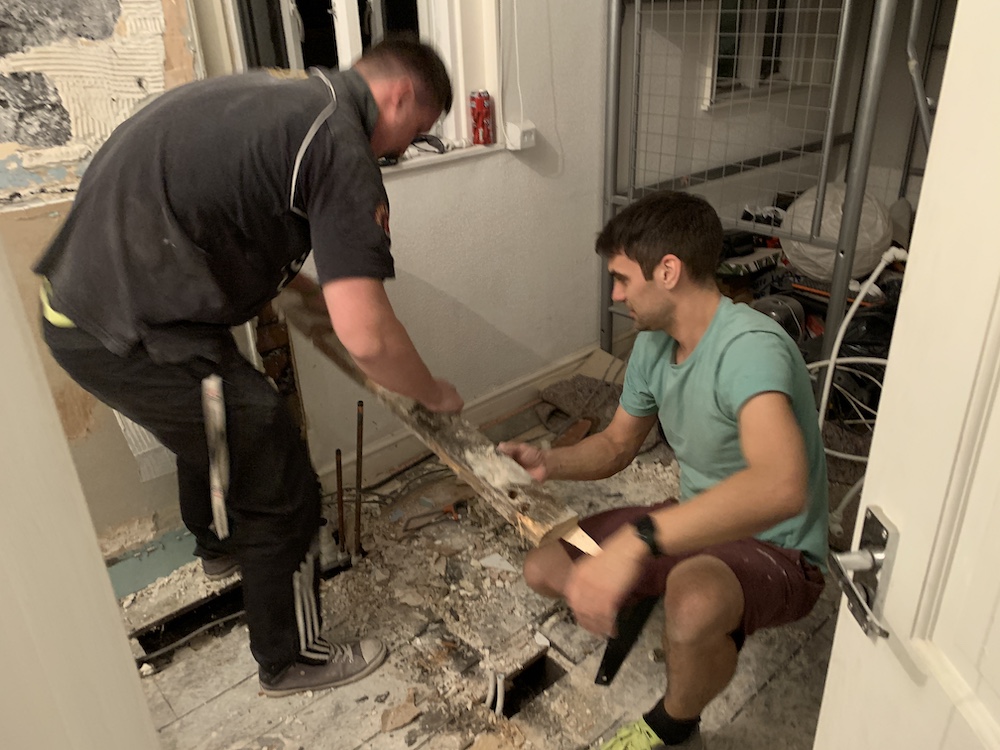
We broke and stripped off the plasterboard from the inner side of the landing wall. In the images below you can also see the structure of the new wall we had started building where the old shower room door was.
This required a bit of cleaning up. Notice the bath now (somehow) in the room!
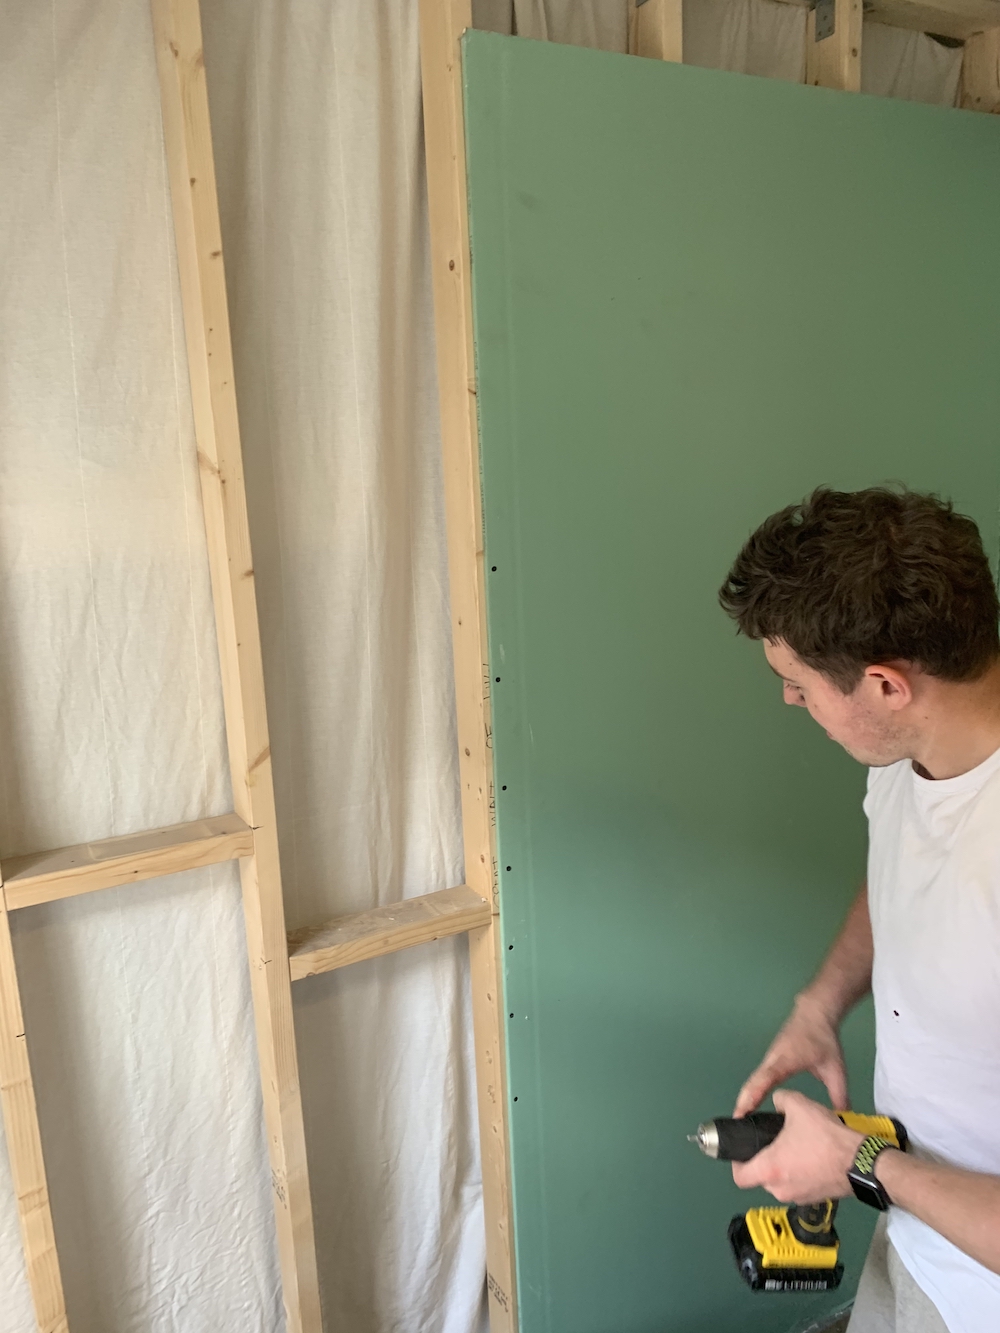
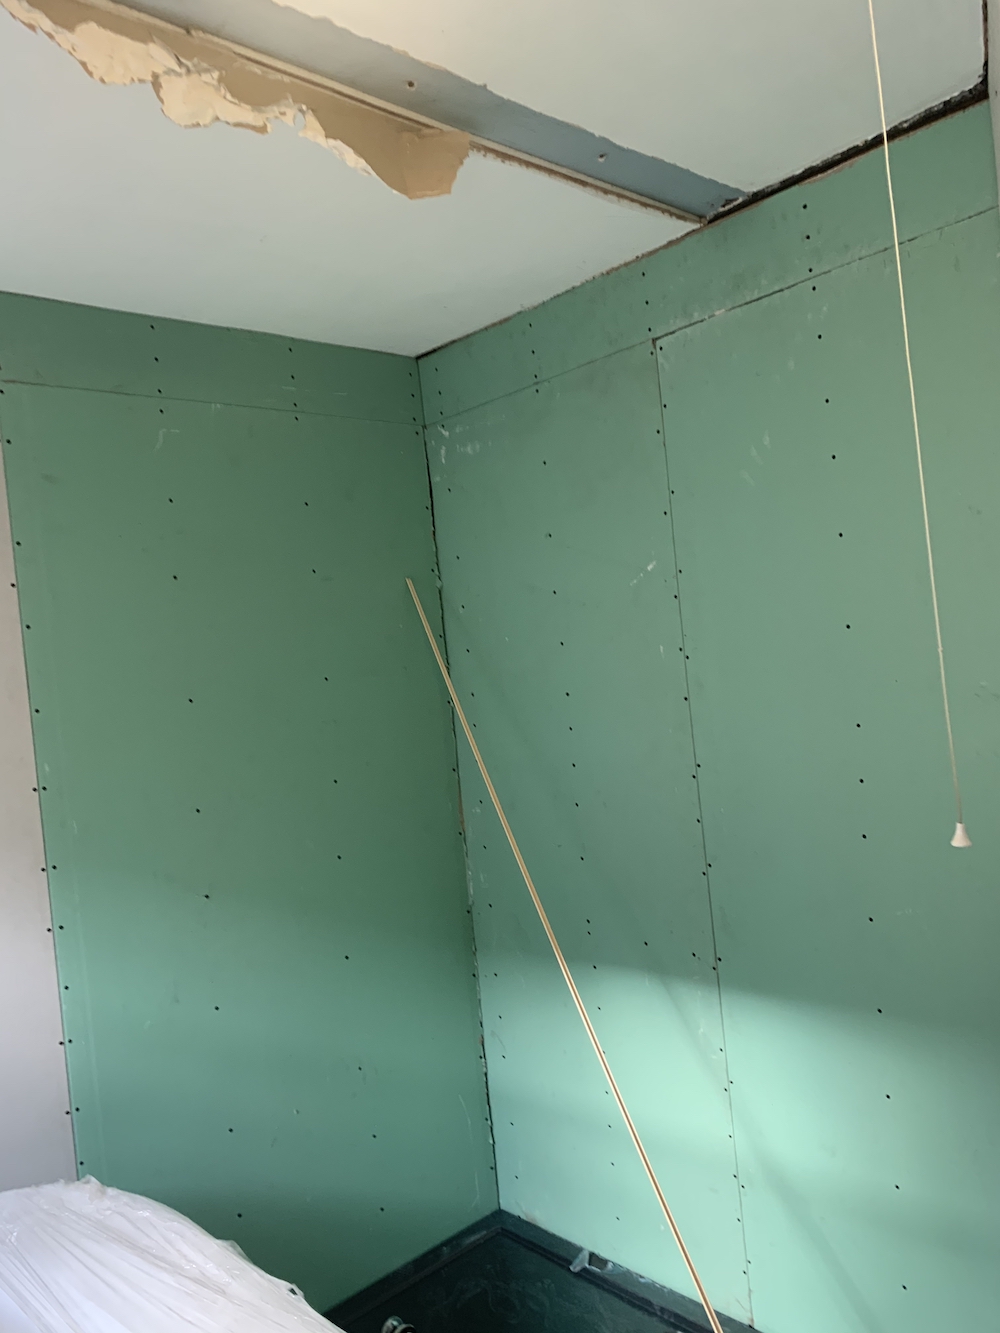
Continuing with the wall
With that out of the way, we could then add new plasterboard and moisture board to all of the new and exposed walls.
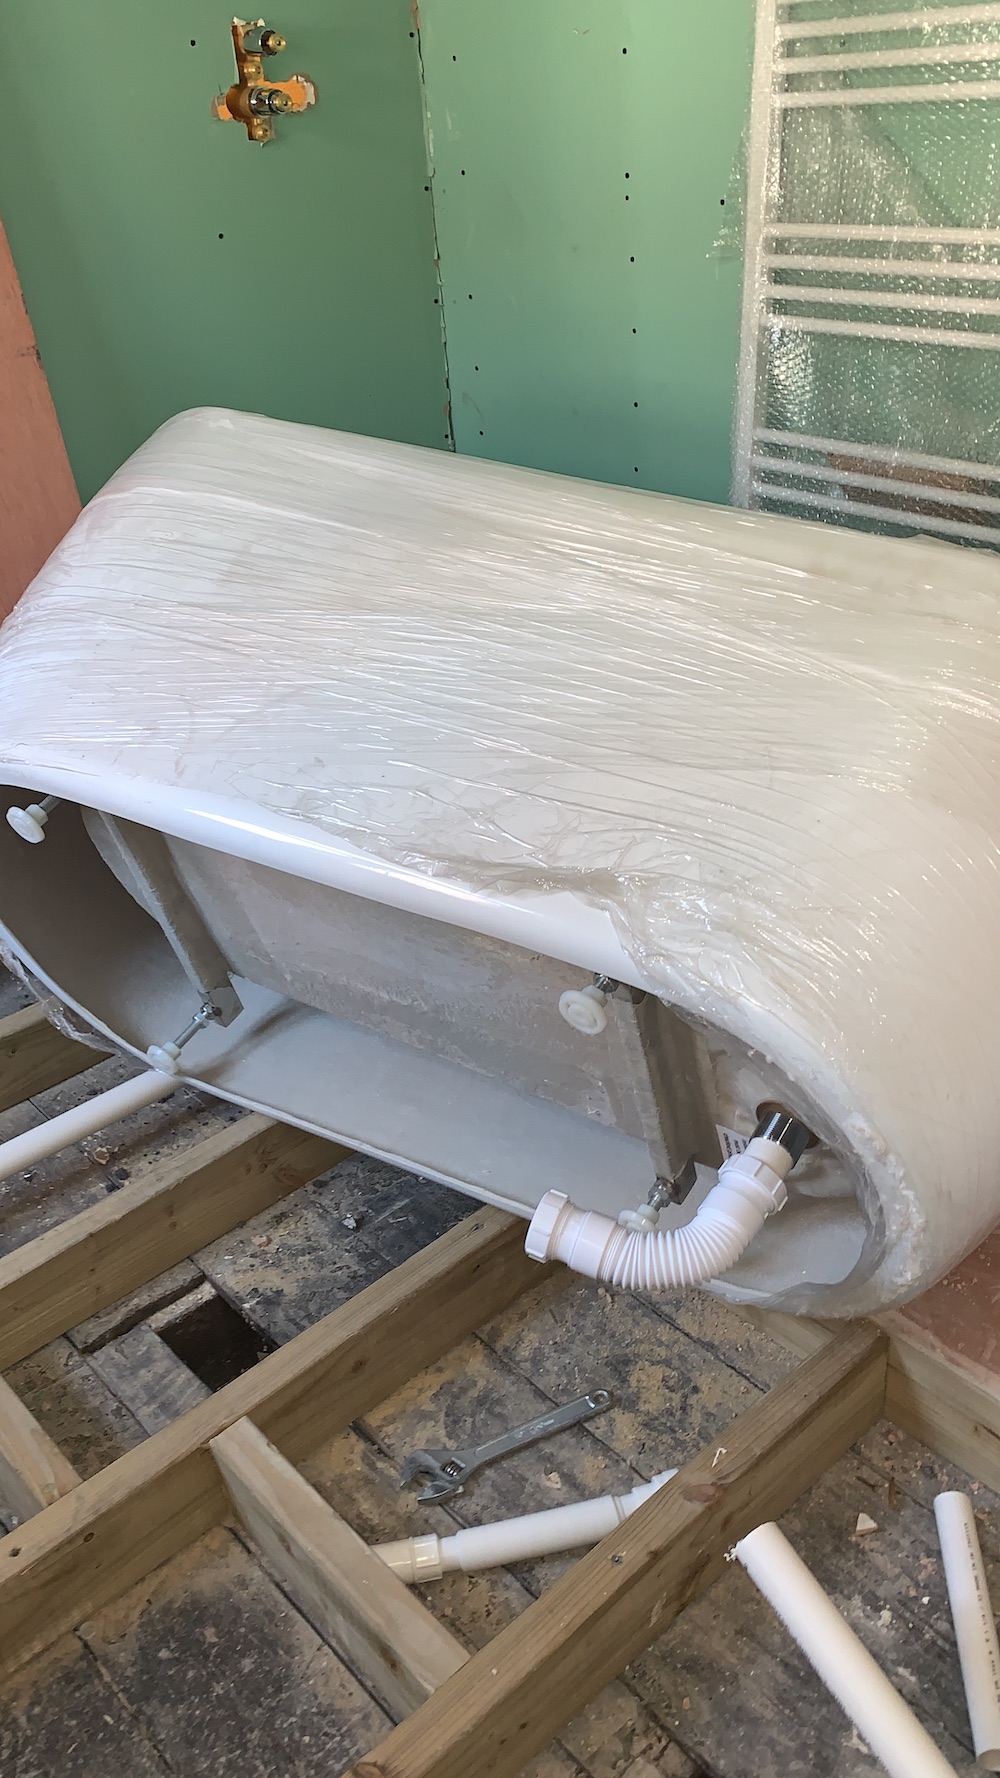
Some drainage plumbing
We built a small raised platform that would more easily enable us to run drainage under the floor, which you can see in the picture below. We also got the bath plumbed in.
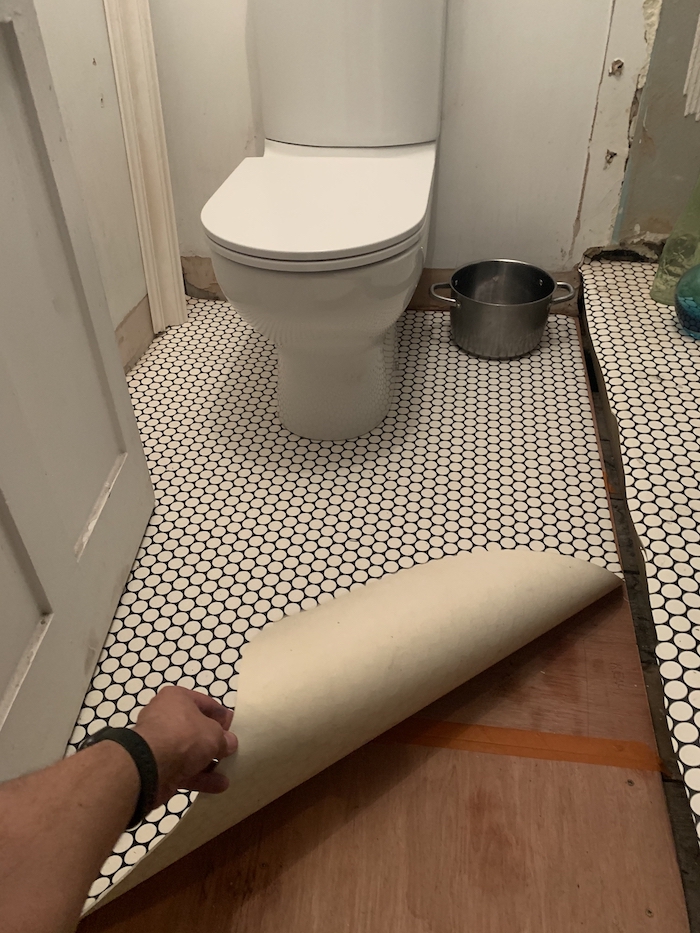
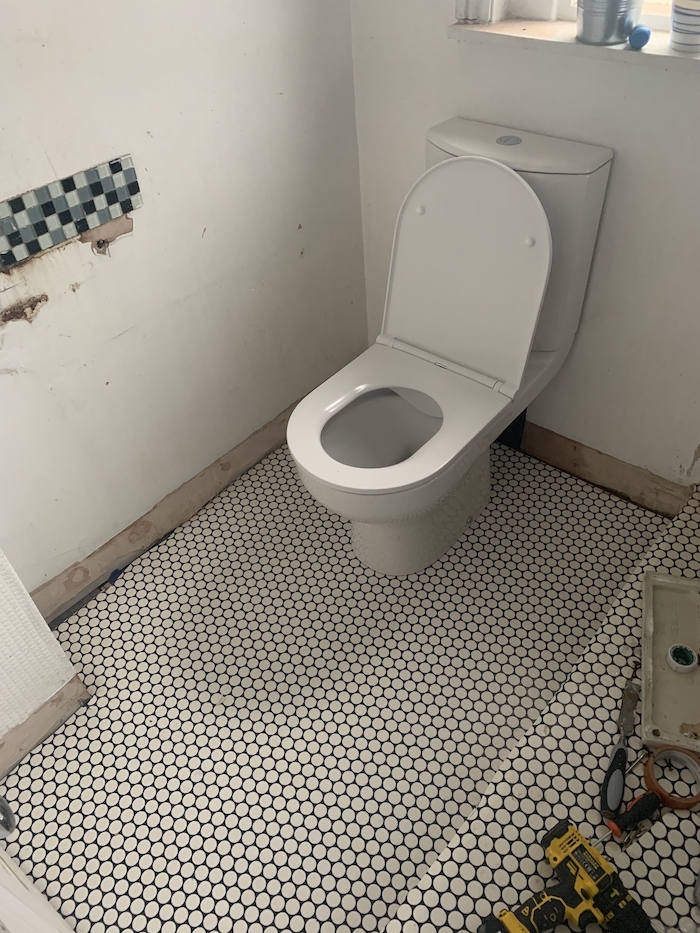
Finishing off the floor
To complete the floor we added plywood and some simple lino flooring.
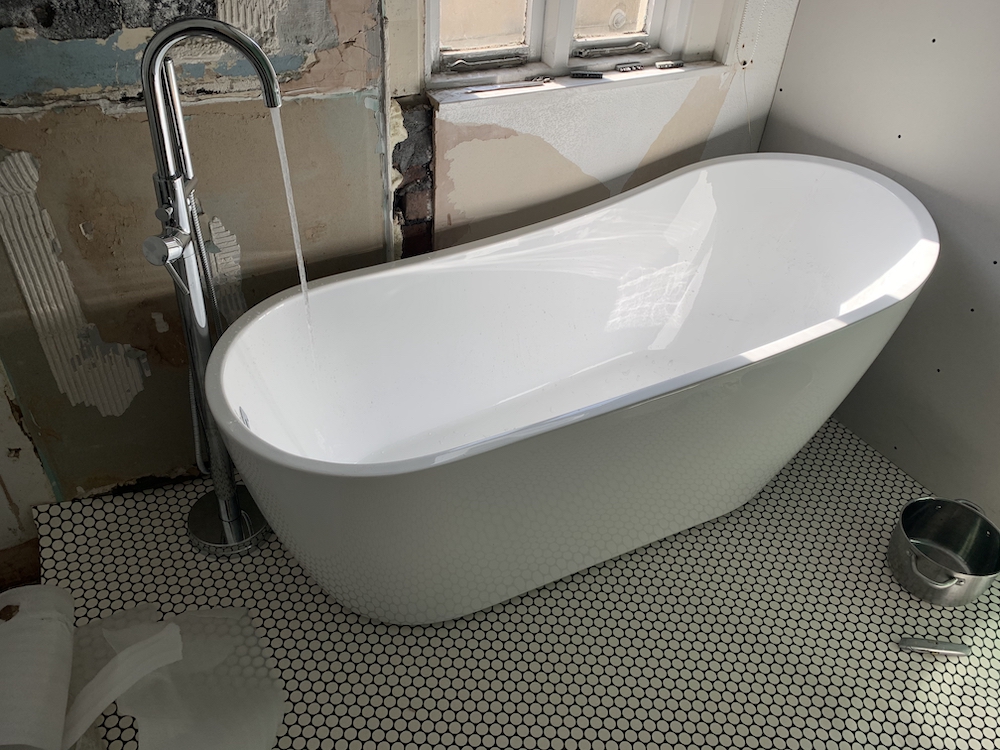
Proving that the bath works! With inlet and outlet plumbing done.
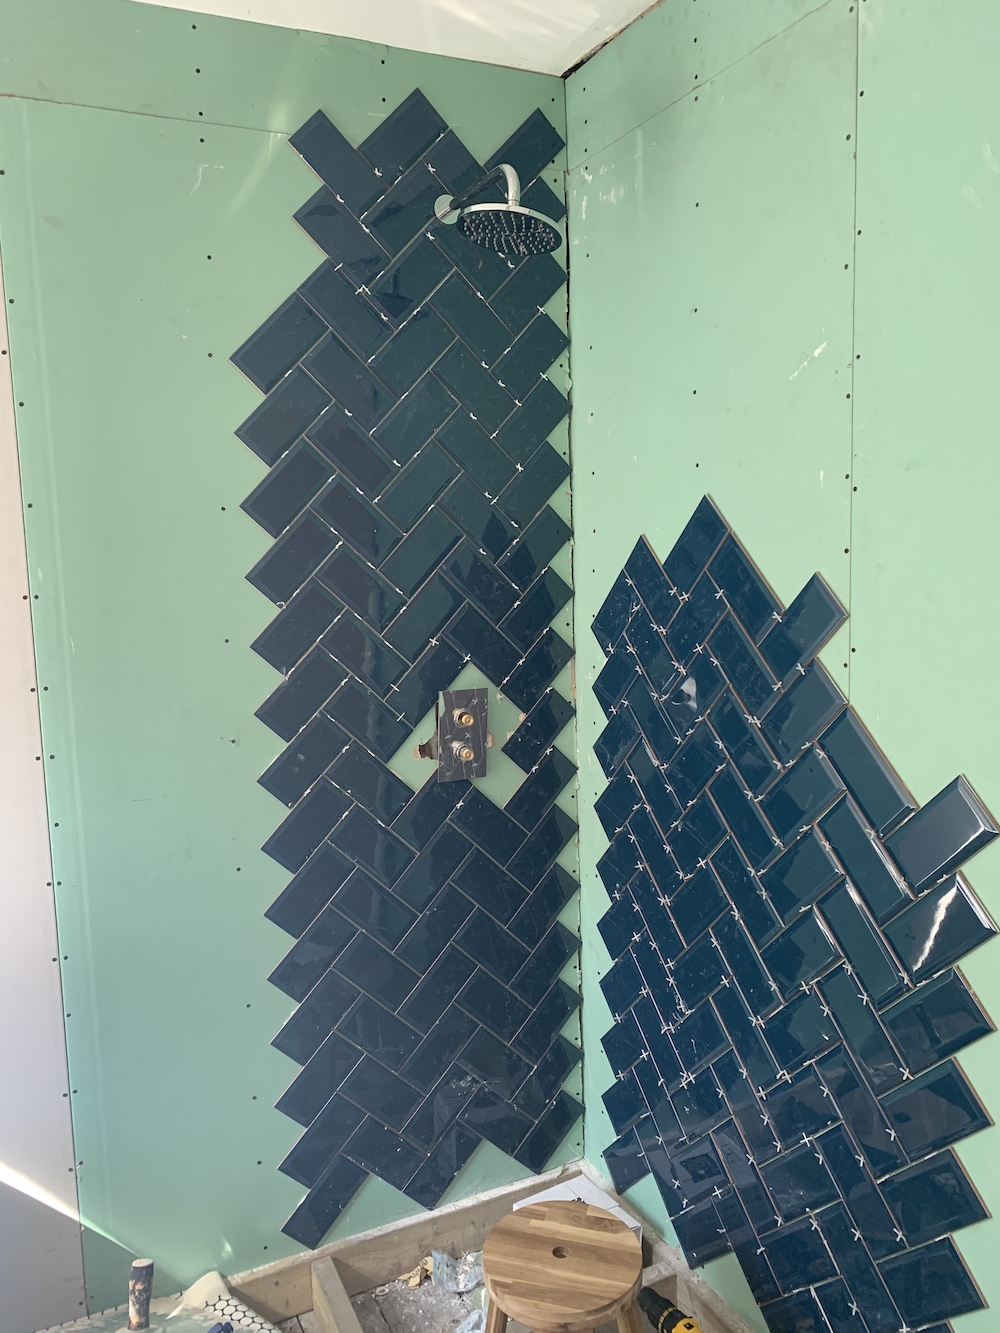
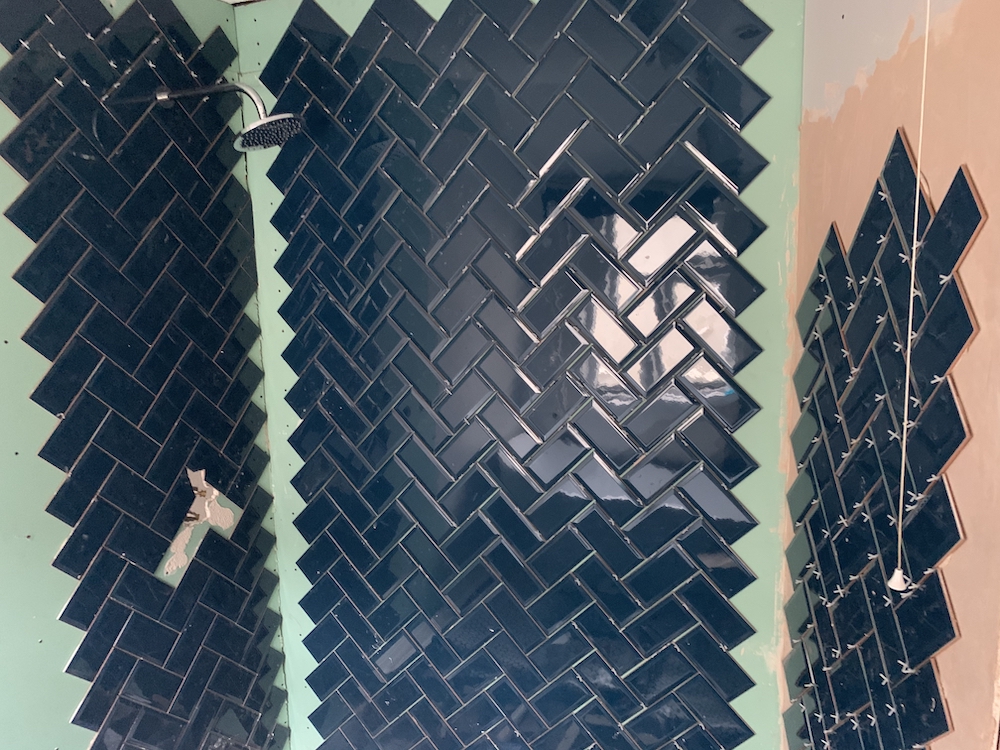
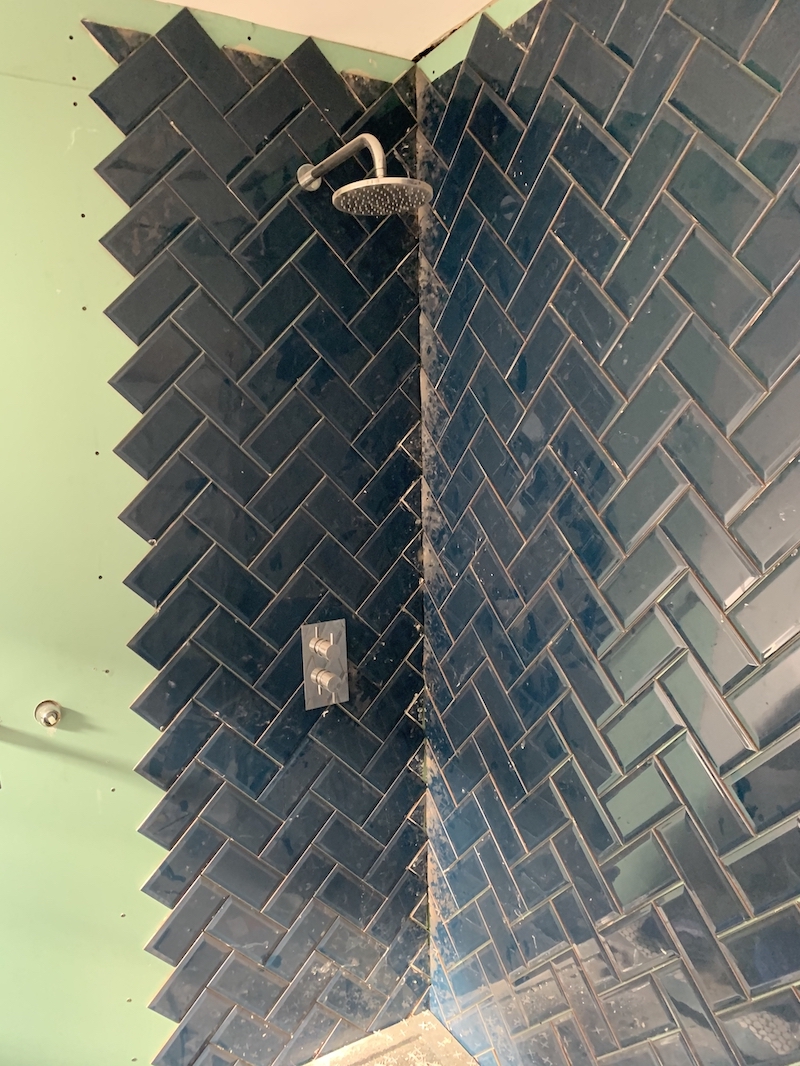
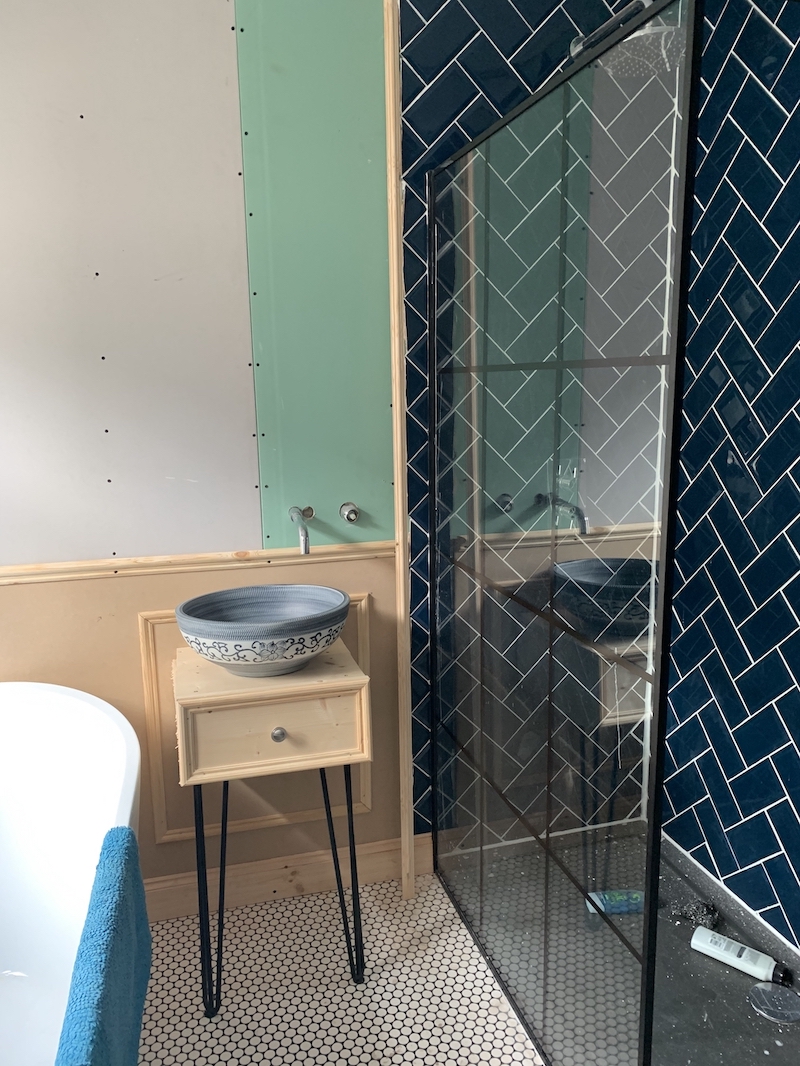
Tiling
To complete the wall around the shower, we added tiles in a herringbone style. Naturally we left the hardest bits (i.e. the edges) to last.
We also added in some of the shower plumbing through the wall so we could tile around it.
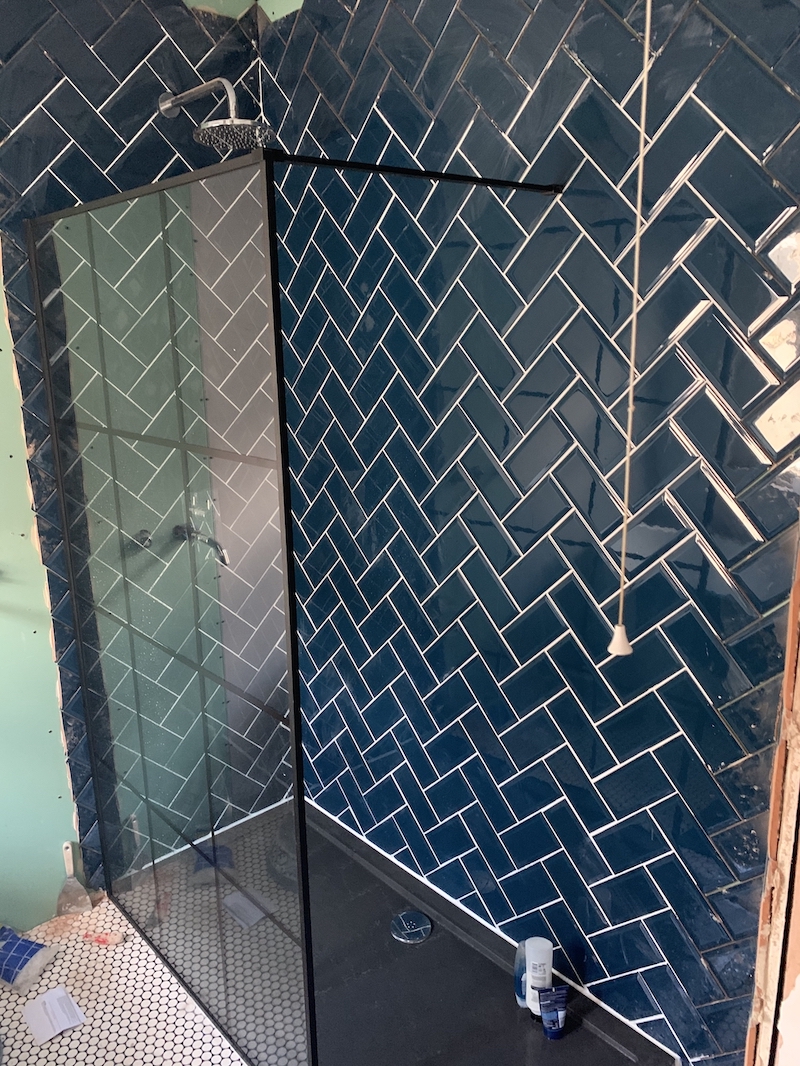
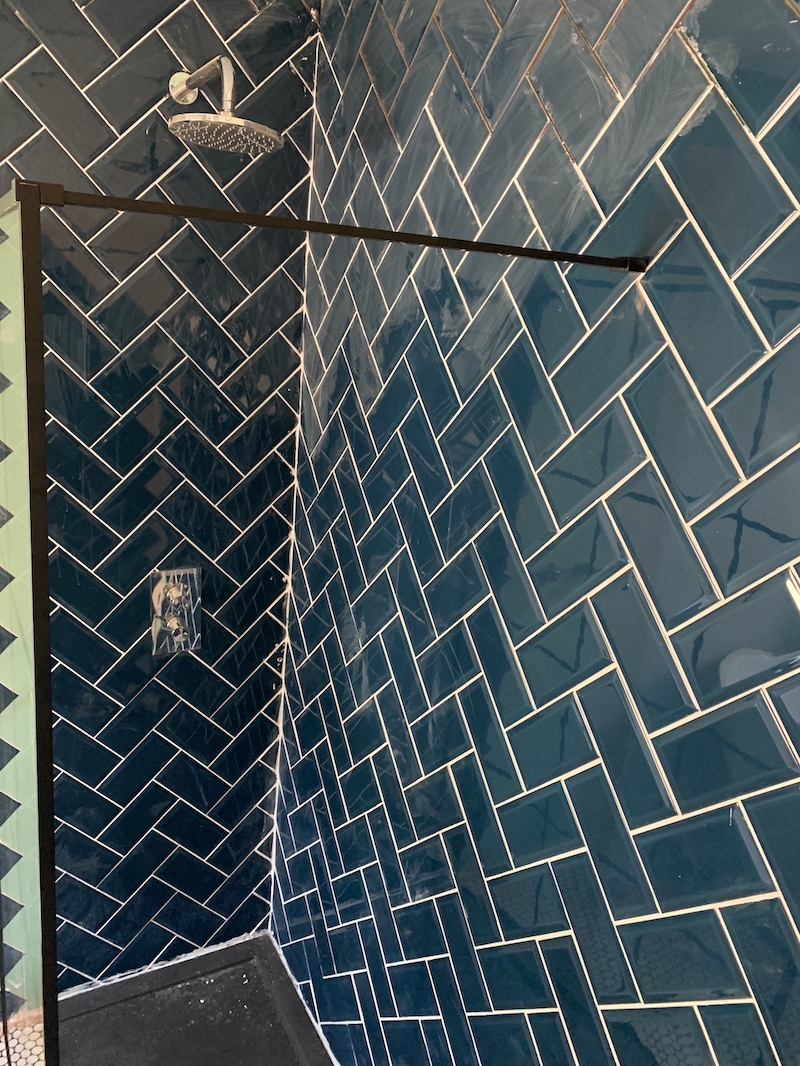
Installing the new shower tray and glass
Next, we needed to install the shower tray and glass. The shower would be a walk-in shower without a door.
We also grouted the tiles and sealed the shower tray.
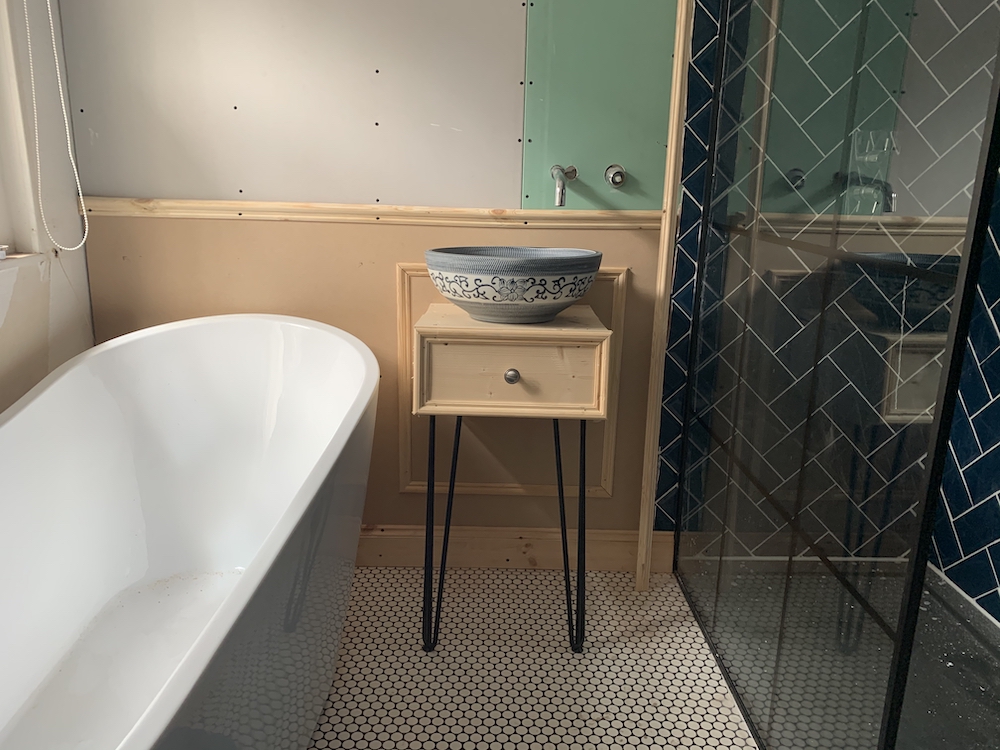
Building the sink
We bought a nice sink bowl and some hairpin legs to build the support for the sink, as you’ll see in the pictures below.
We also added some skirting rail, dado rail, and some panelling effect for improved aesthetics.
We plumbed the sink through the wall - just like the shower.
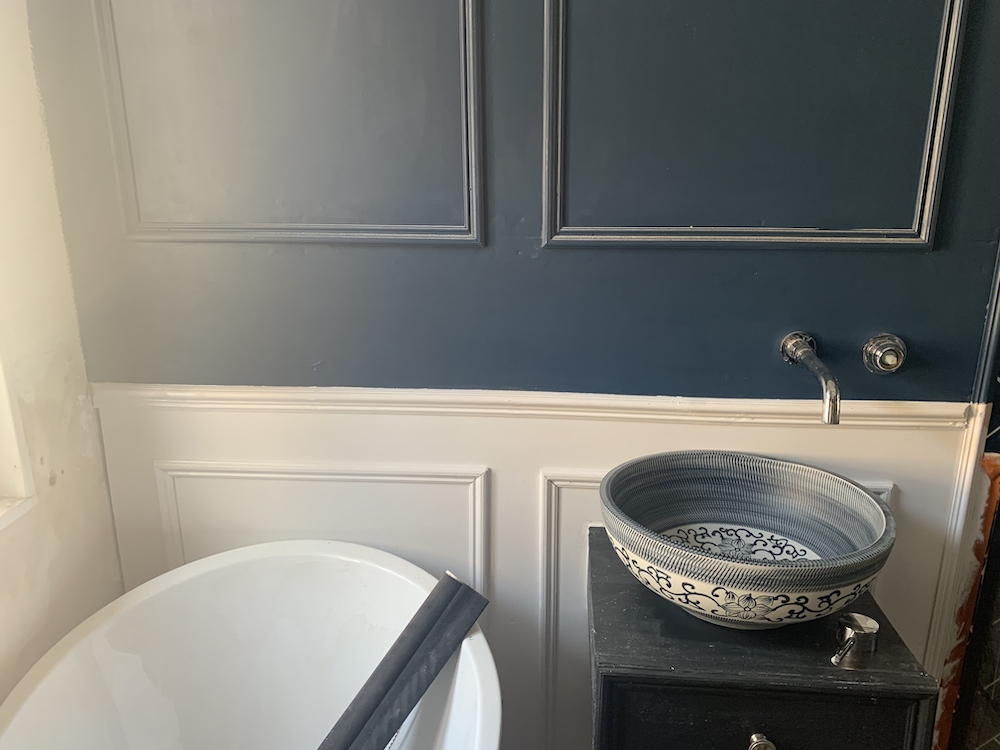
Adding some paint
The next jobs were to plaster the remaining exposed plasterboard and add some paint. We also added some additional panelling to the wall.
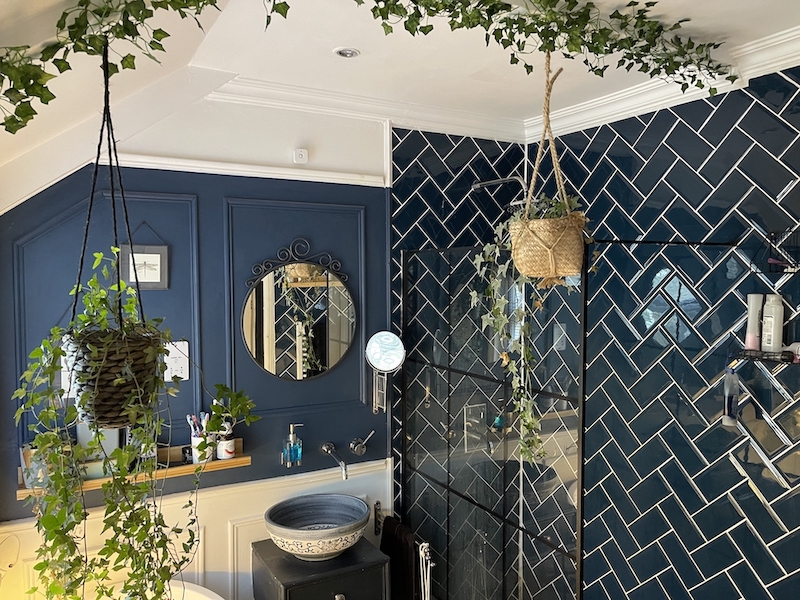
As you’ll see from these photos, we went for a dark blue colour for the main part of the wall to match the tiles.
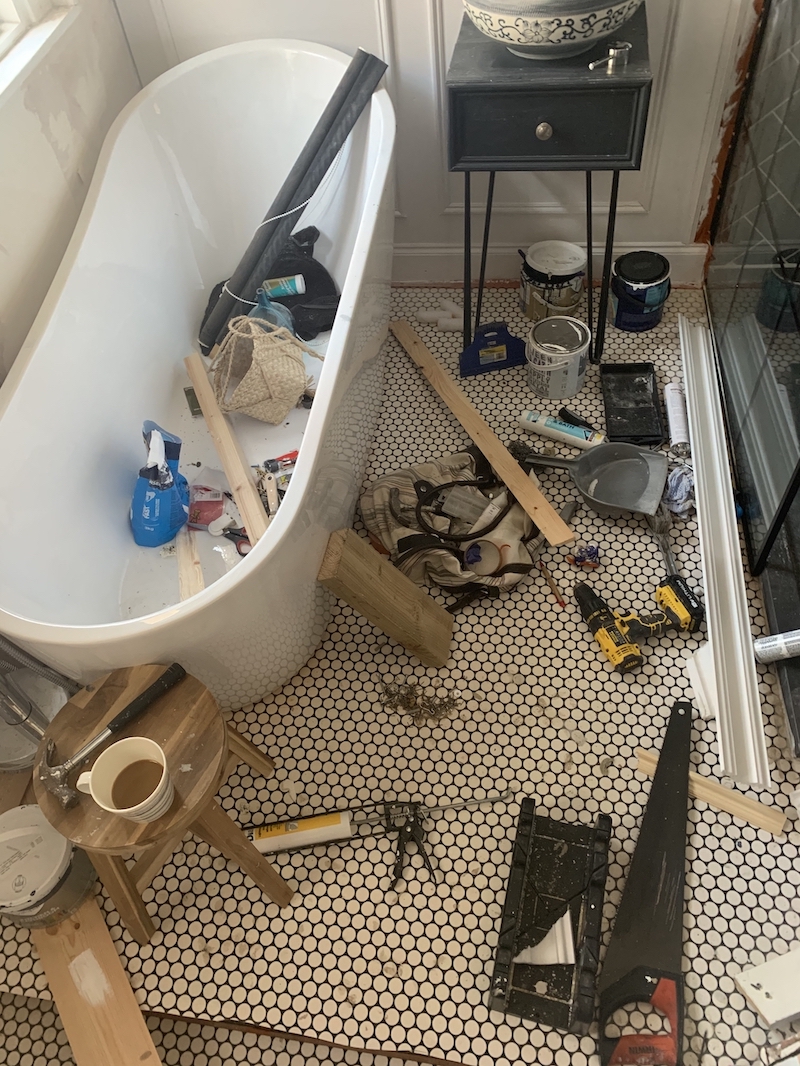
Some more tidying up!
Closing off the door
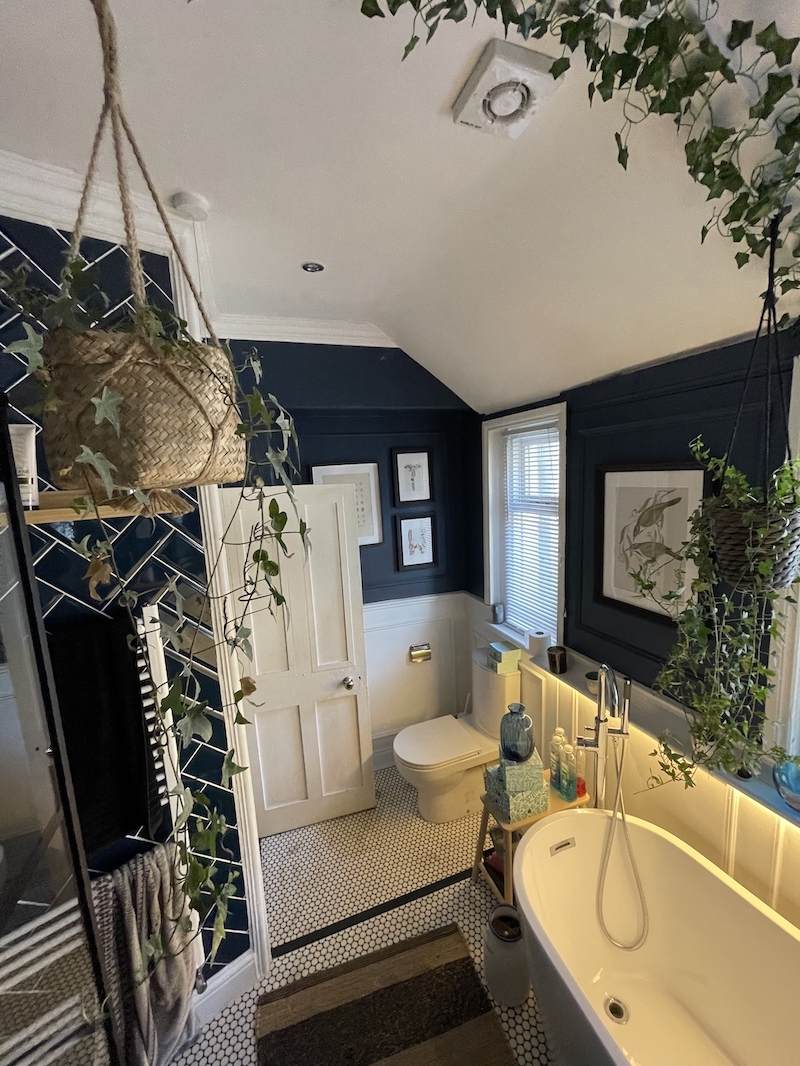
Remember that old shower room? The wall to that still needed to be completed. We patched the hole with some plasterboard, plastered it and its surround, and painted it the same colour as the landing.
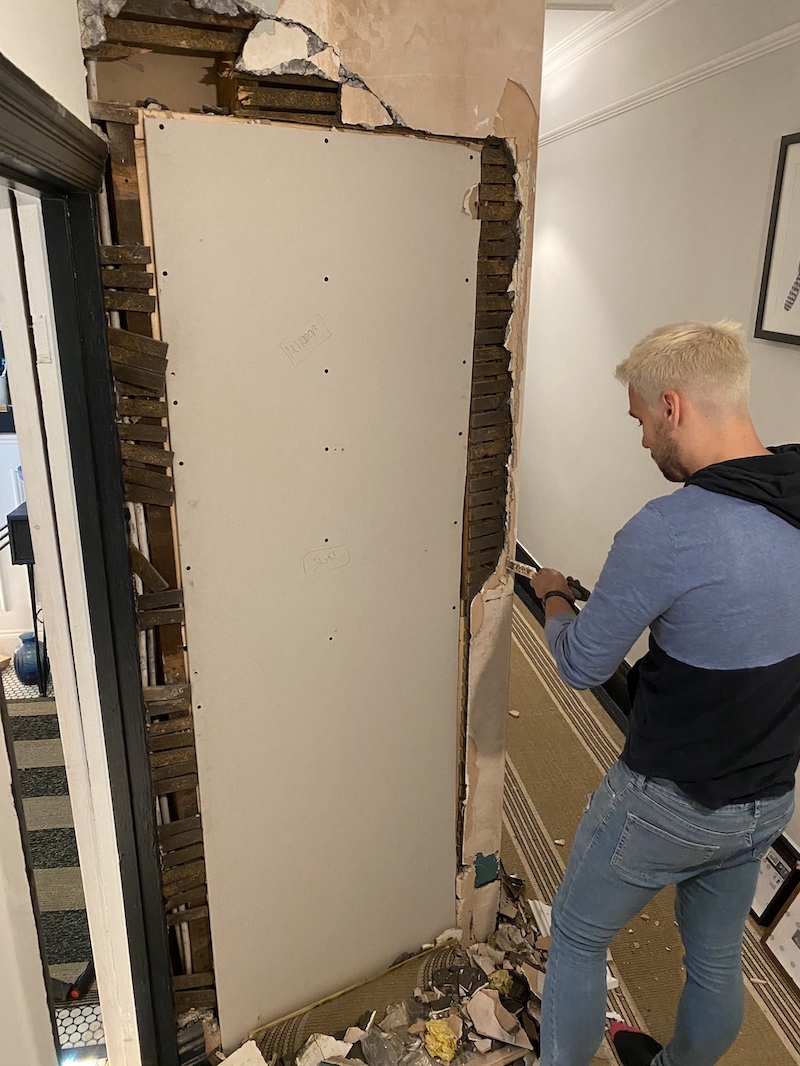
Once done, the old doorway was nowhere to be seen.
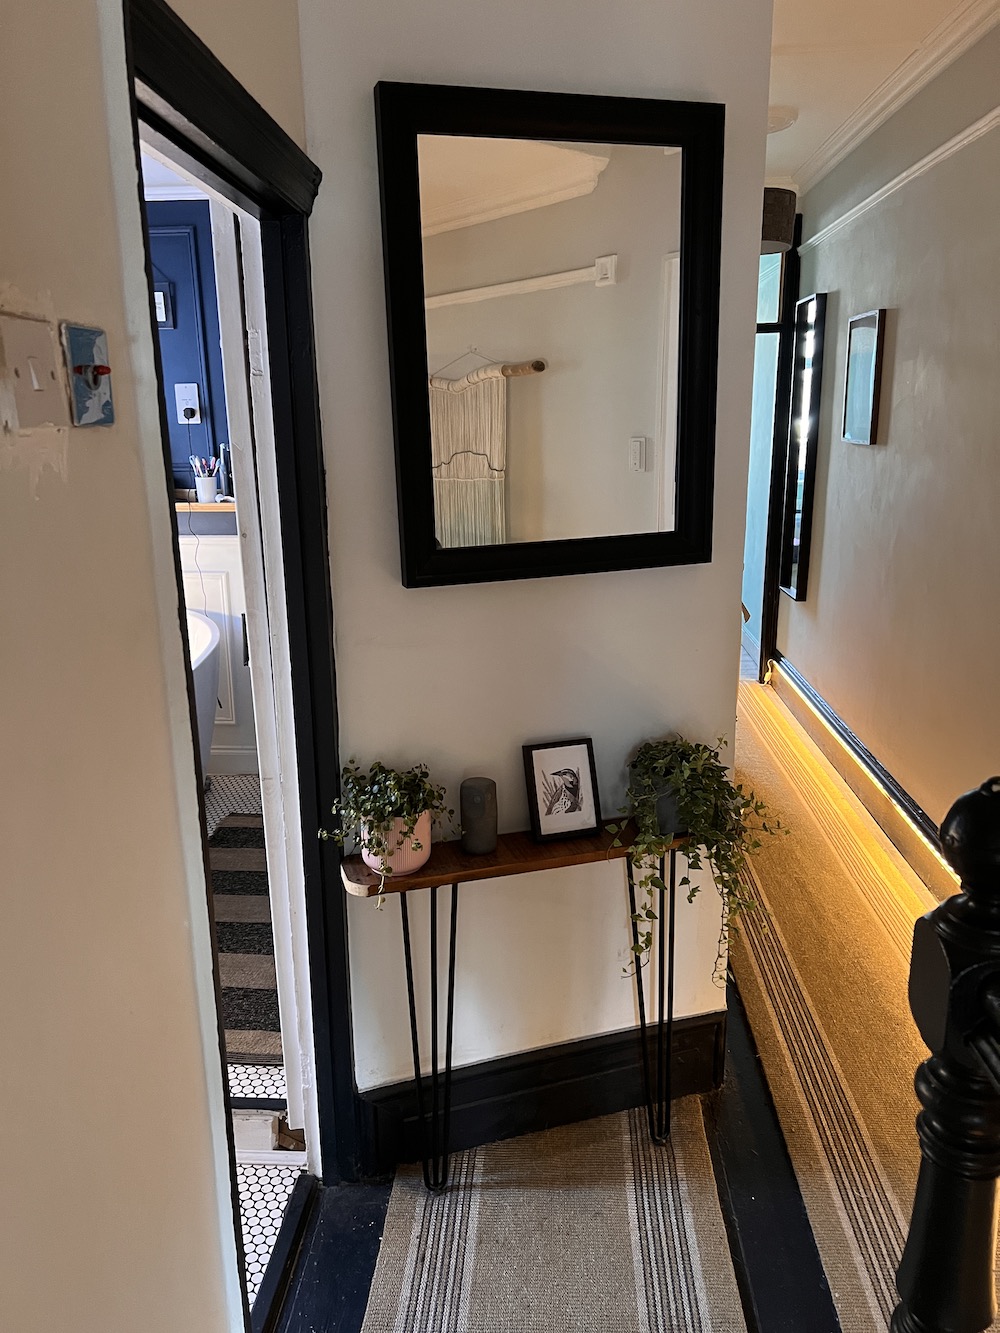
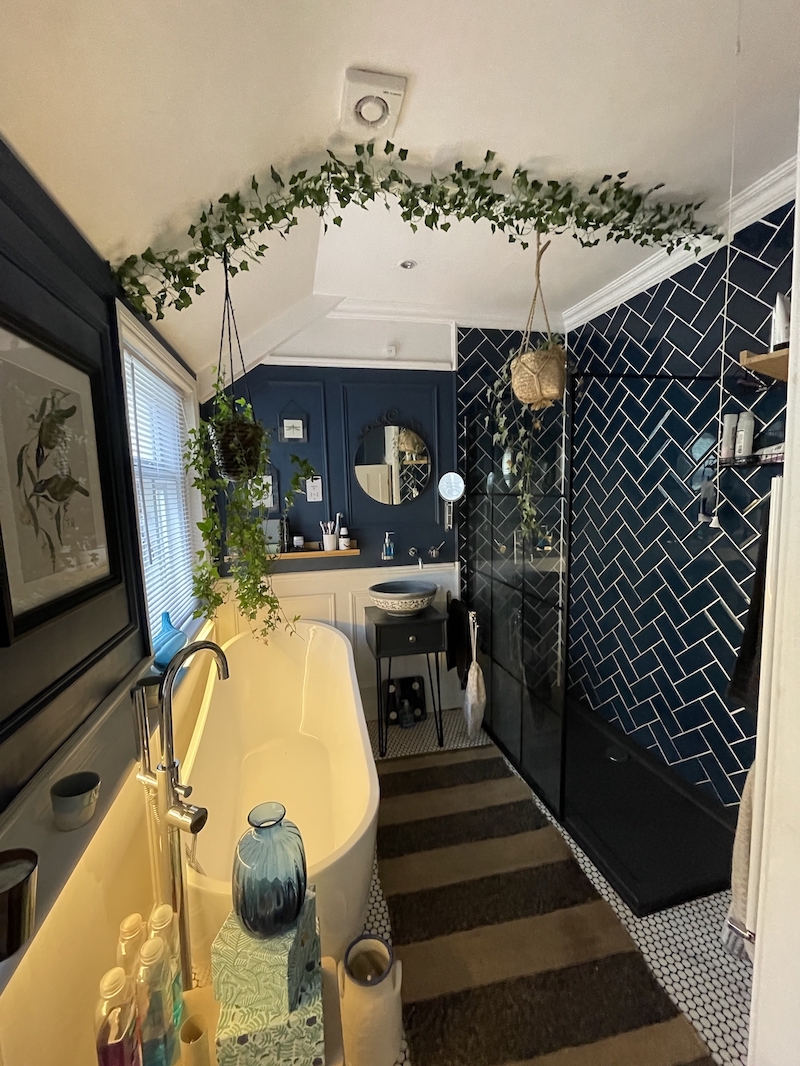
Finishing touches
Finally, we bought some mirrors, pictures, furniture, and some fittings (such as hand-towel rails) for the walls. We also added a rug and some hanging plants, which sort of water themselves from the shower’s condensation.
We plumbed in a heated towel rail next to the shower, added some coving, and some light strips.