About 18 months ago we bought a new home. The house is an 1880s (ish) Victorian building, and many of its original features - such as tile floors, cornice, and fireplaces - had been retained, which is great.
It had previously been a student-style (HMO - house of multiple occupation) house, in which nearly all available space had been converted into bedrooms. As you might imagine, the fixtures and fittings weren’t in great conditions, with old and worn carpets and wallpaper throughout.
Our plan was to try and restore the house back into a more family-style home. We knew this wouldn’t be a small undertaking (every room needed work to some degree). And this included the outside space.
Our garden (or yard) isn’t massive (typical for a house in the city), measuring about 5x5 metres along with a side-return. In the decades past, the garden would have been used for access to the house for staff (cooks and cleaners, etc.) and for deliveries. As such, it featured raised beds and a mix of pathways throughout.
When we first moved in, there was no flat or actual usable space, the beds had become overgrown, and it was full of junk left by the previous occupiers. Our plan was to flatten it into a practical, urban and low-maintenance space. We’d floor it with slabs and use nice pot plants to bring in some greenery.
The rest of this post shows our progress!
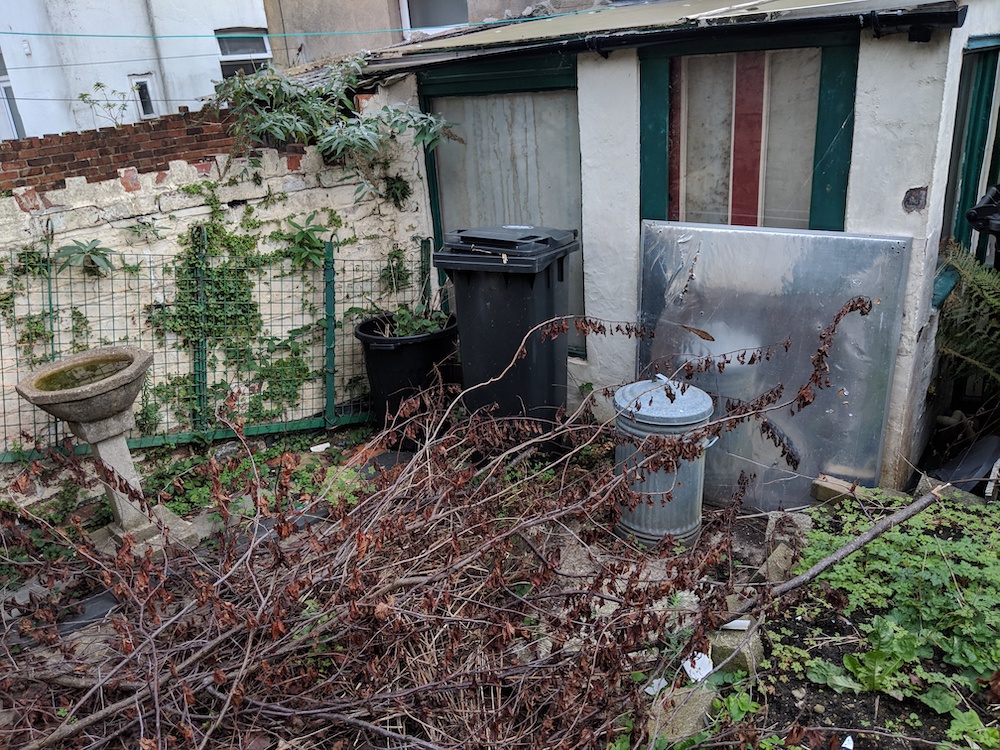
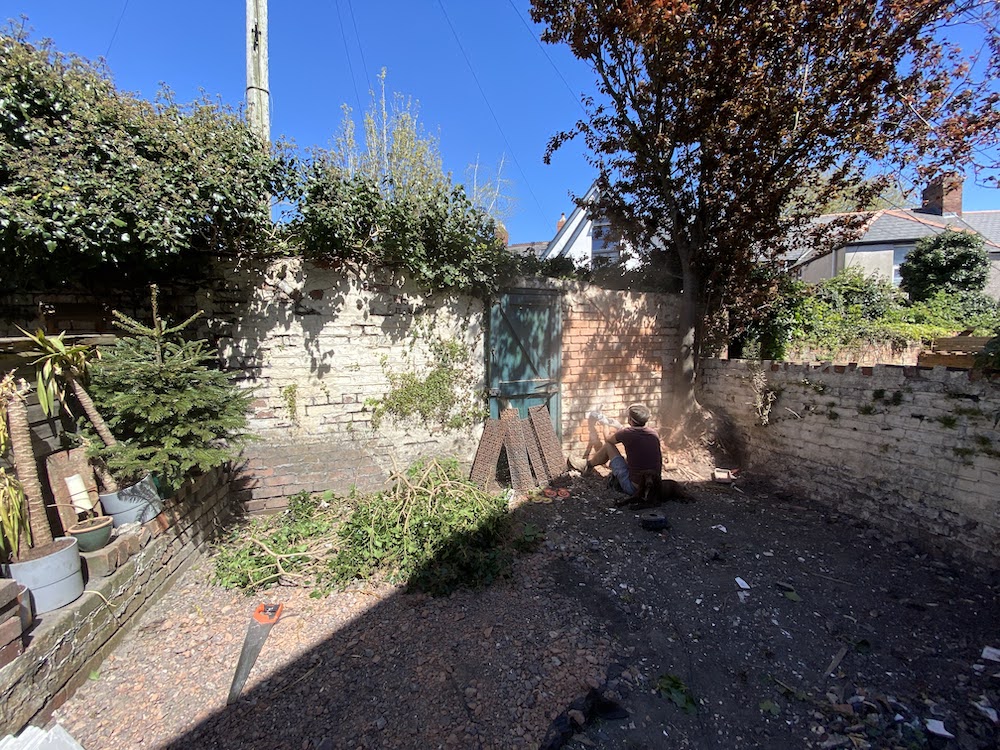
What we had to work with: the day we moved in
When we first moved in, the garden was full of overgrown and dead plants, and lots of junk.
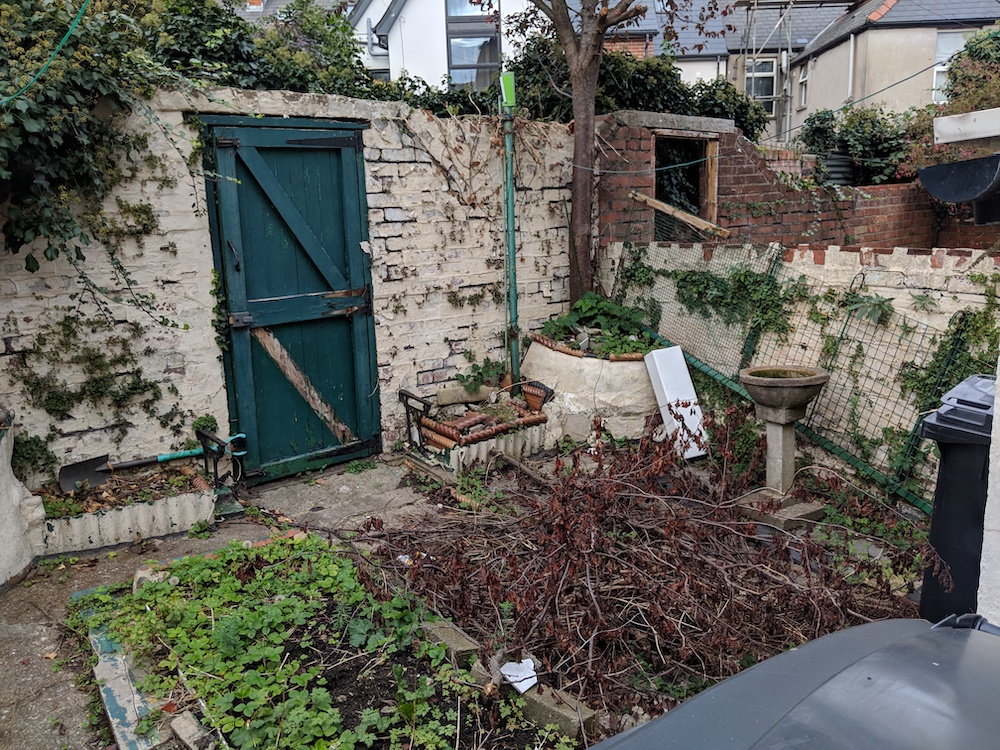

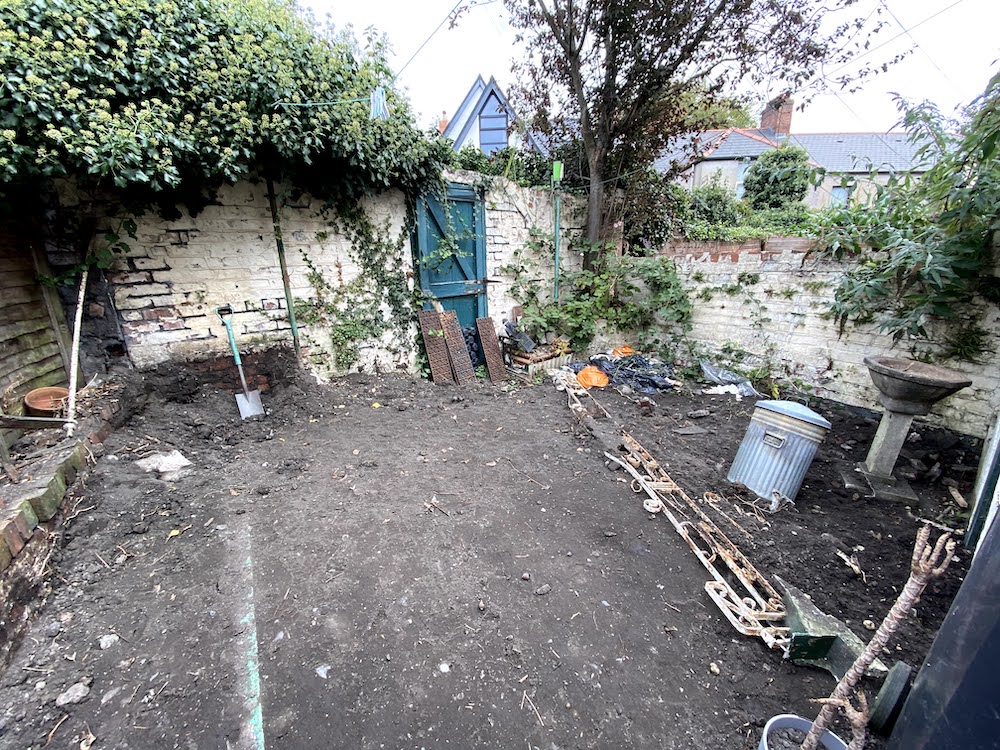
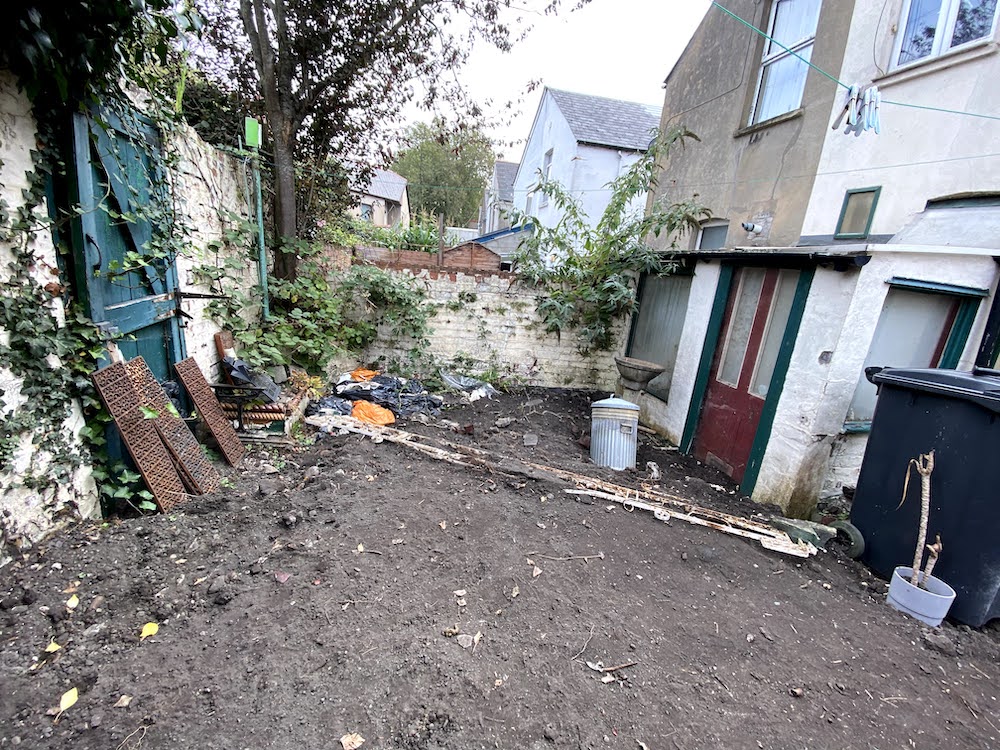
Flattening the garden
We cleared lots of the junk and were able to flatten the beds. We used sledgehammers to knock out the low walls and raked the rubble and soil to level most of the area.
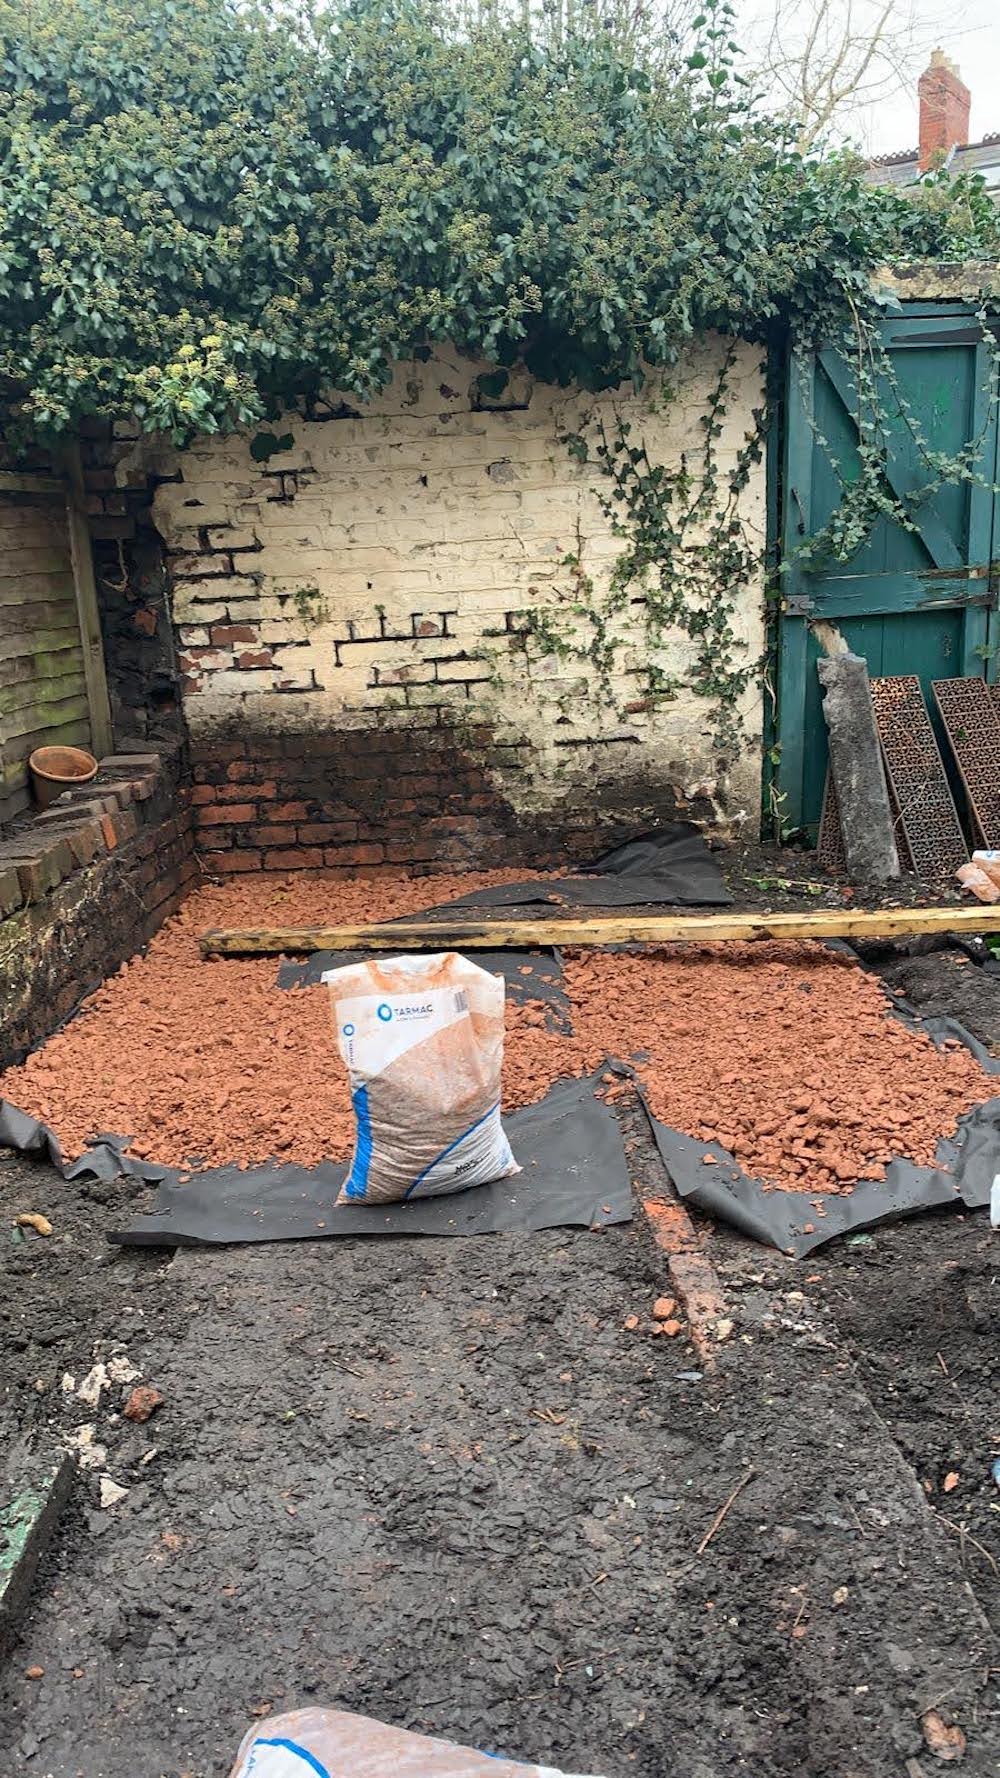
Slabs foundation
We began to lay some gravel as an eventual foundation for the slabs.
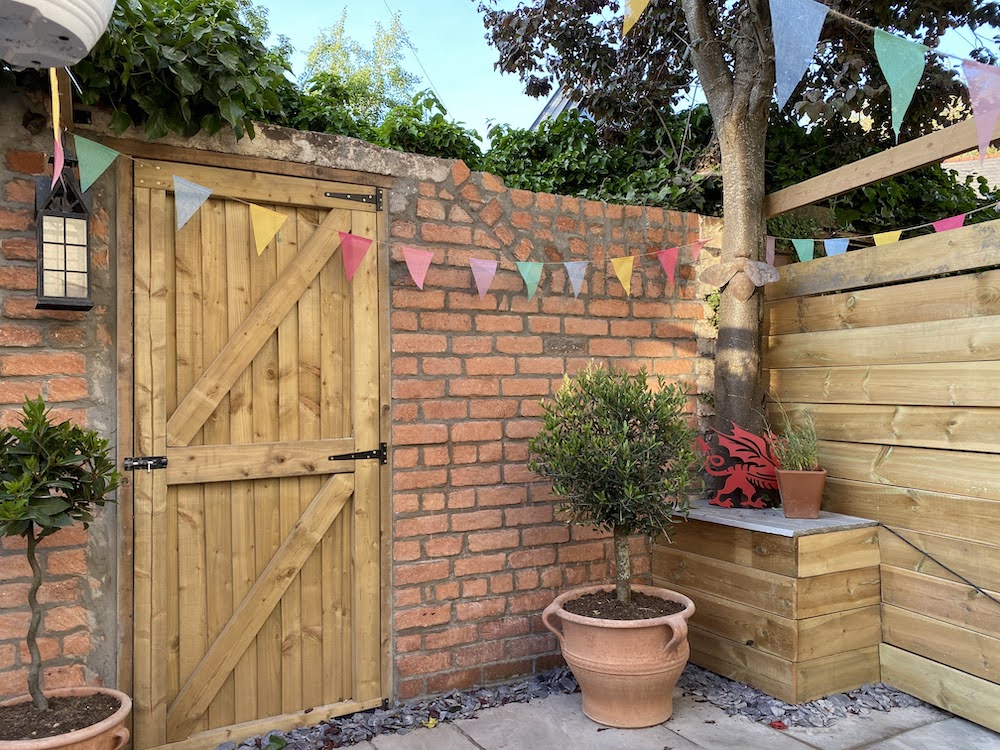
Restoring the walls
The walls looked grotty, as they were covered in peeling paint and plants. We cleared the plants and took a multi-tool to the walls to scrape off the old paint.
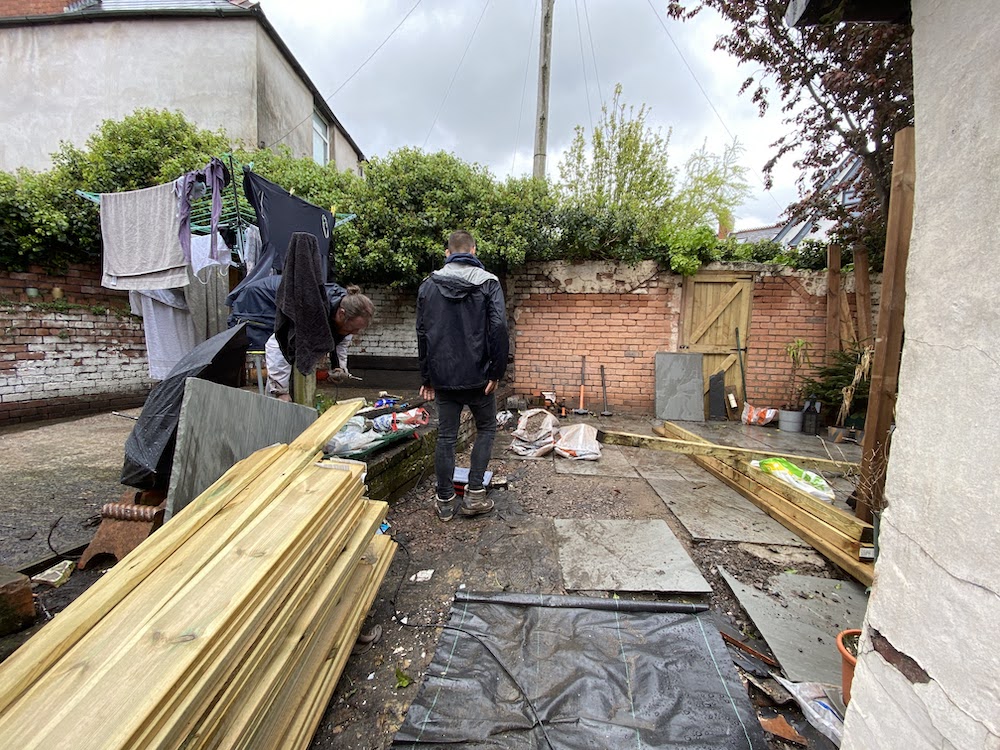
Fencing!
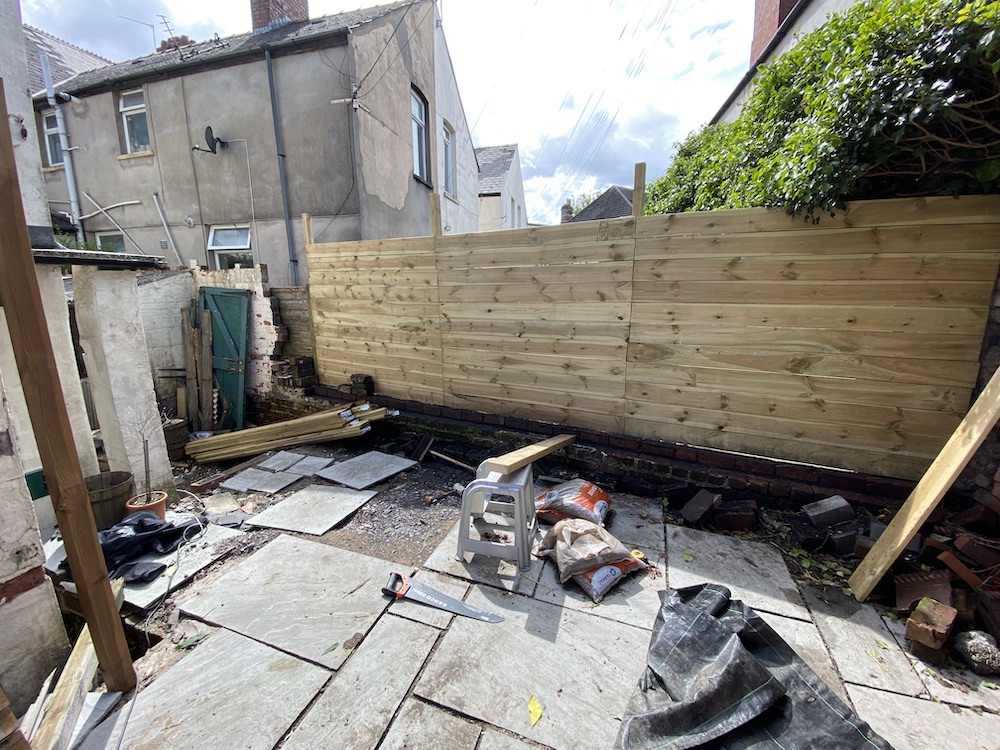
We knocked down (with our neighbour’s permission) the dividing fence between our gardens, and rebuilt a newer and sturdier one over a very rainy weekend.
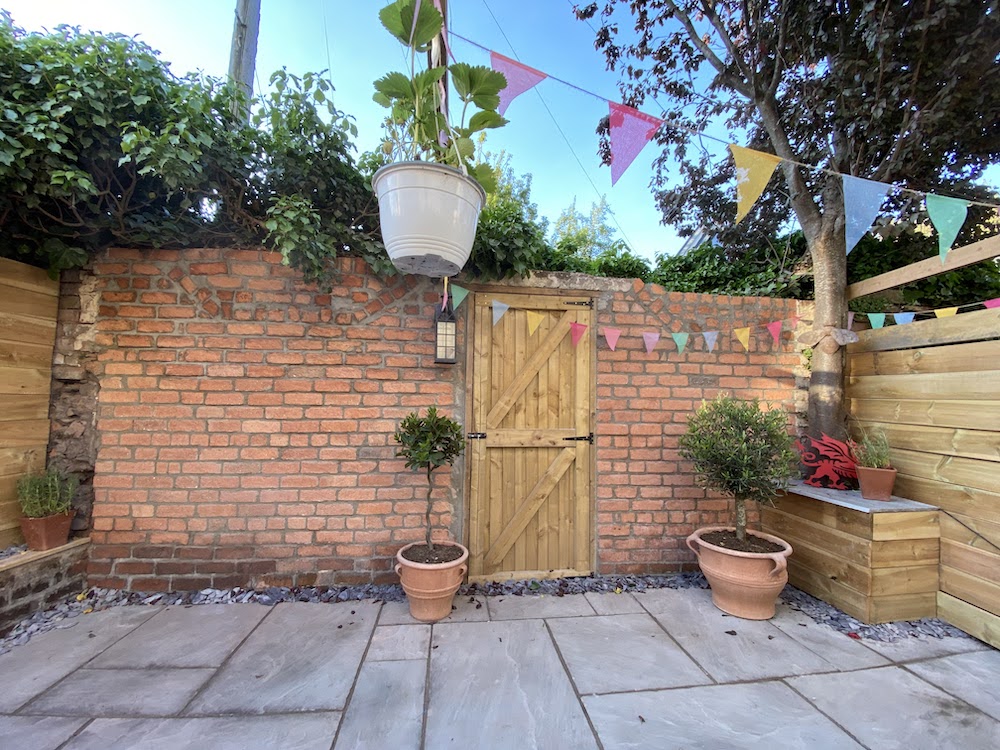
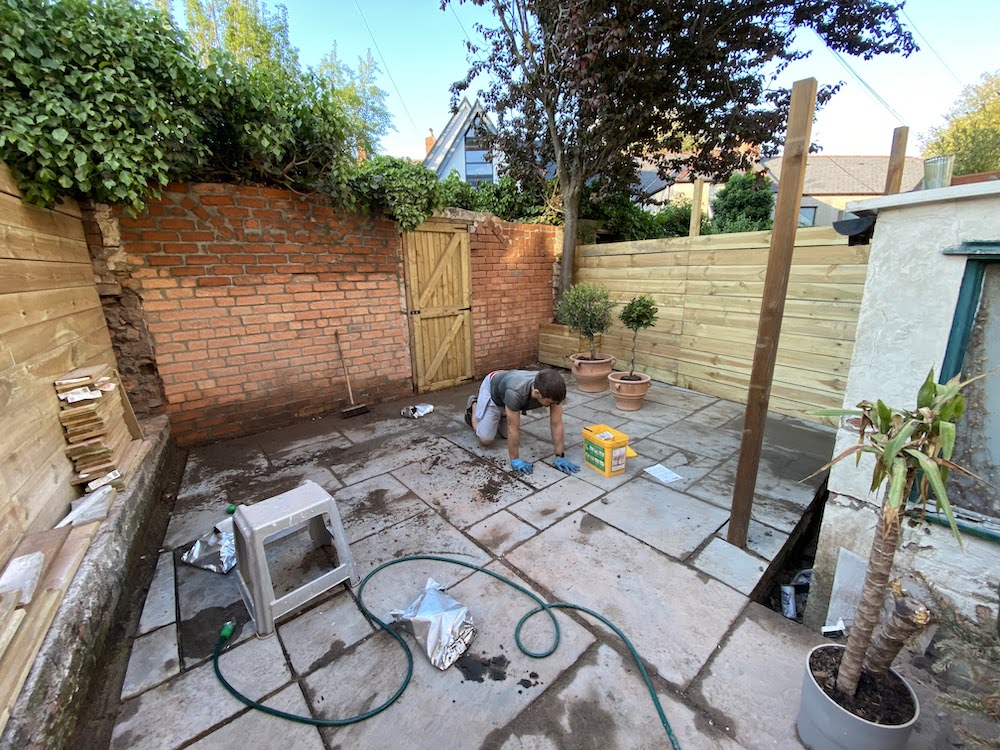
You can also see the more restored walls in the background and a new back gate that we built.

We also fenced in front of the wall on the other side.
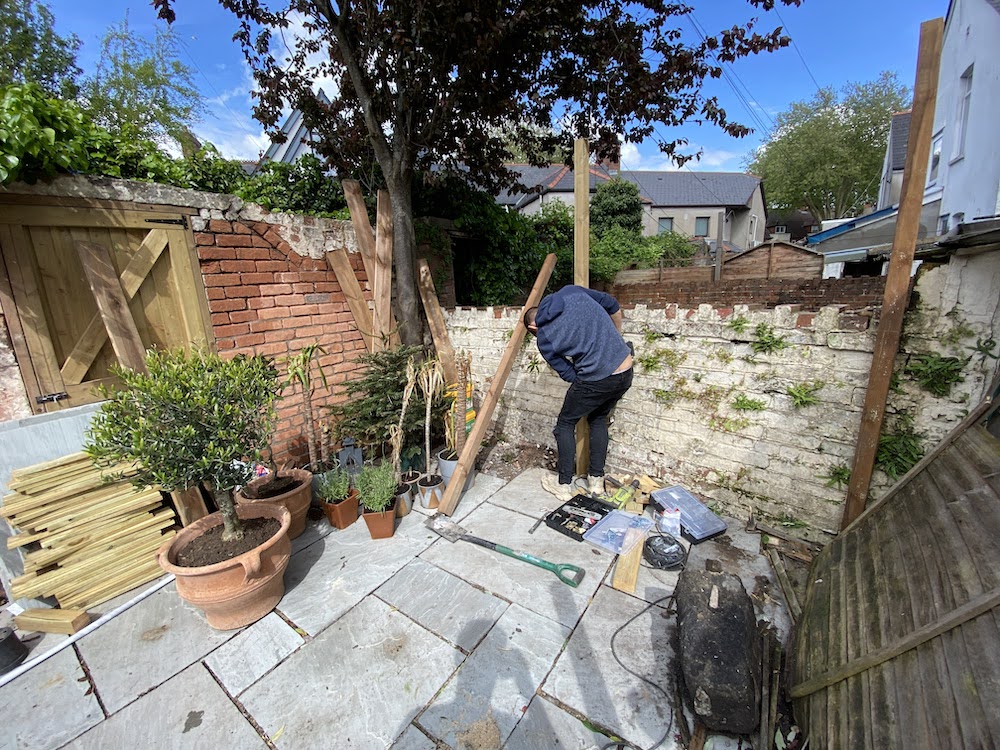
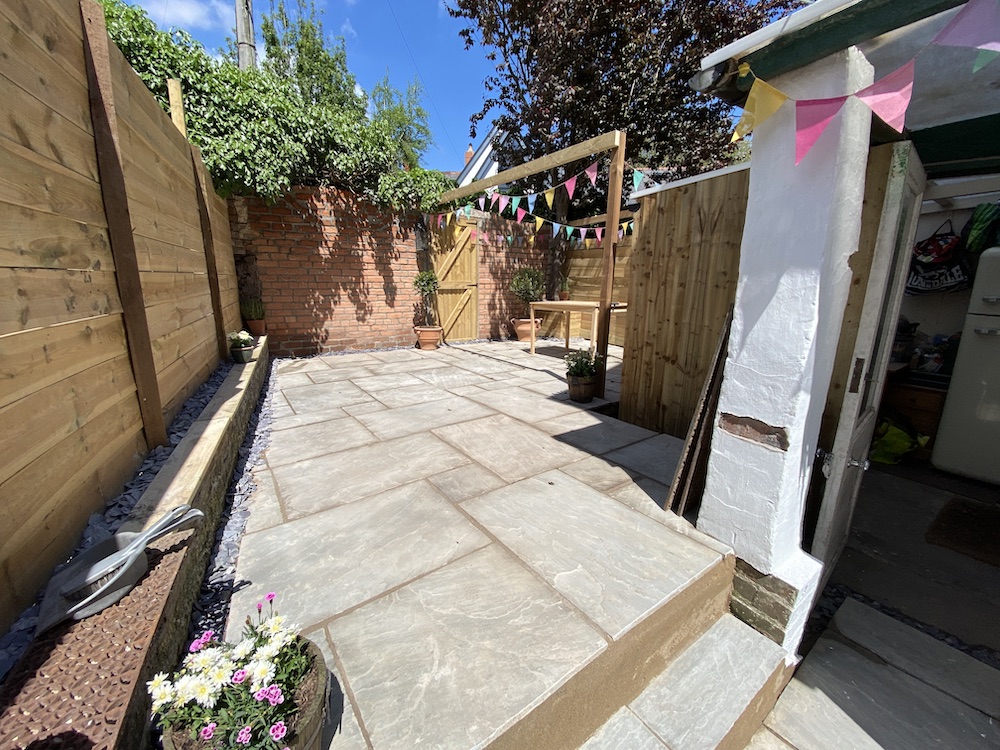
Completing the floor
We laid the remainder of the slabs - almost two tons’ worth that we needed to carry through the house from the street. We pointed them and cleaned them up.
You can see the other completed fence in the background.
Finishing touches
And that’s it, really. We put some new pots in, added some planks to create a sort of pergola, and some solar lights for the evening.
We also cladded the little out-building (a utility room) with wood and repainted some of the brickwork.