
🎉 This is post 100 in my attempt at the #100DaysToOffload challenge!
For a couple of years I have been writing mobile apps using the Flutter framework, having previously been a React Native advocate. Flutter is a great tool for writing applications that target multiple platforms and architectures from one code base - and not needing to write any JavaScript is definitely a bonus!
I use and recommend Firebase Cloud Messaging to handle push notifications in these applications. There’s also a great library for Flutter - Flutterfire - to handle the setup and receipt of these messages, along with the requesting of push permissions on iOS. The set-up takes away the pain of managing cross-platform notifications in Android and iOS applications.
I recently needed to publish a front-end web version of one of these apps. The back-end system (web API) would remain the same, but I was initially daunted by the task of needing to write a whole new web application mirroring the mobile client functionality.
However, I then realised I could (pretty much) simply issue a flutter build web command to get a web-based version of my mobile app. This worked beautifully and it made me remember why I enjoy using this framework so much! As a result of the command, a fully-responsive web app is built and is instantly deployable.
The only piece that didn’t quite work so well out of the box in the web version was the Firebase push notification system - the webapp would run fine but would crash with errors when trying to request push permission or interact with the Firebase SDK in other ways.
It seemed that additional setup would be required to allow for web-based push notifications.
Initializing a Flutter app
Both the Flutterfire documentation and the Firebase console include guides and documentation on setting-up push notifications in applications, however a little deviation is required for this to work seamlessly for both web and mobile applications from a single Flutter codebase.
In this post I’ll cover my approach to the additional setup required to getting this to work.
I’ll assume that you have an existing Flutter application to which you want to add web push functionality. I’ll also assume that you’ve already gone through the initial Firebase configuration and installation (i.e. that you have push working on mobile devices). If you don’t yet, the documentation I linked to above covers this better than I can and so I recommend going through that first!
Setting-up push for web
First off, we need to enable web-based builds for the existing Flutter app. If you haven’t already got a web/ directory in your project, run the following command in the root of your project:
flutter create .
You should now have a web/ directory with files such as index.html and manifest.json inside.
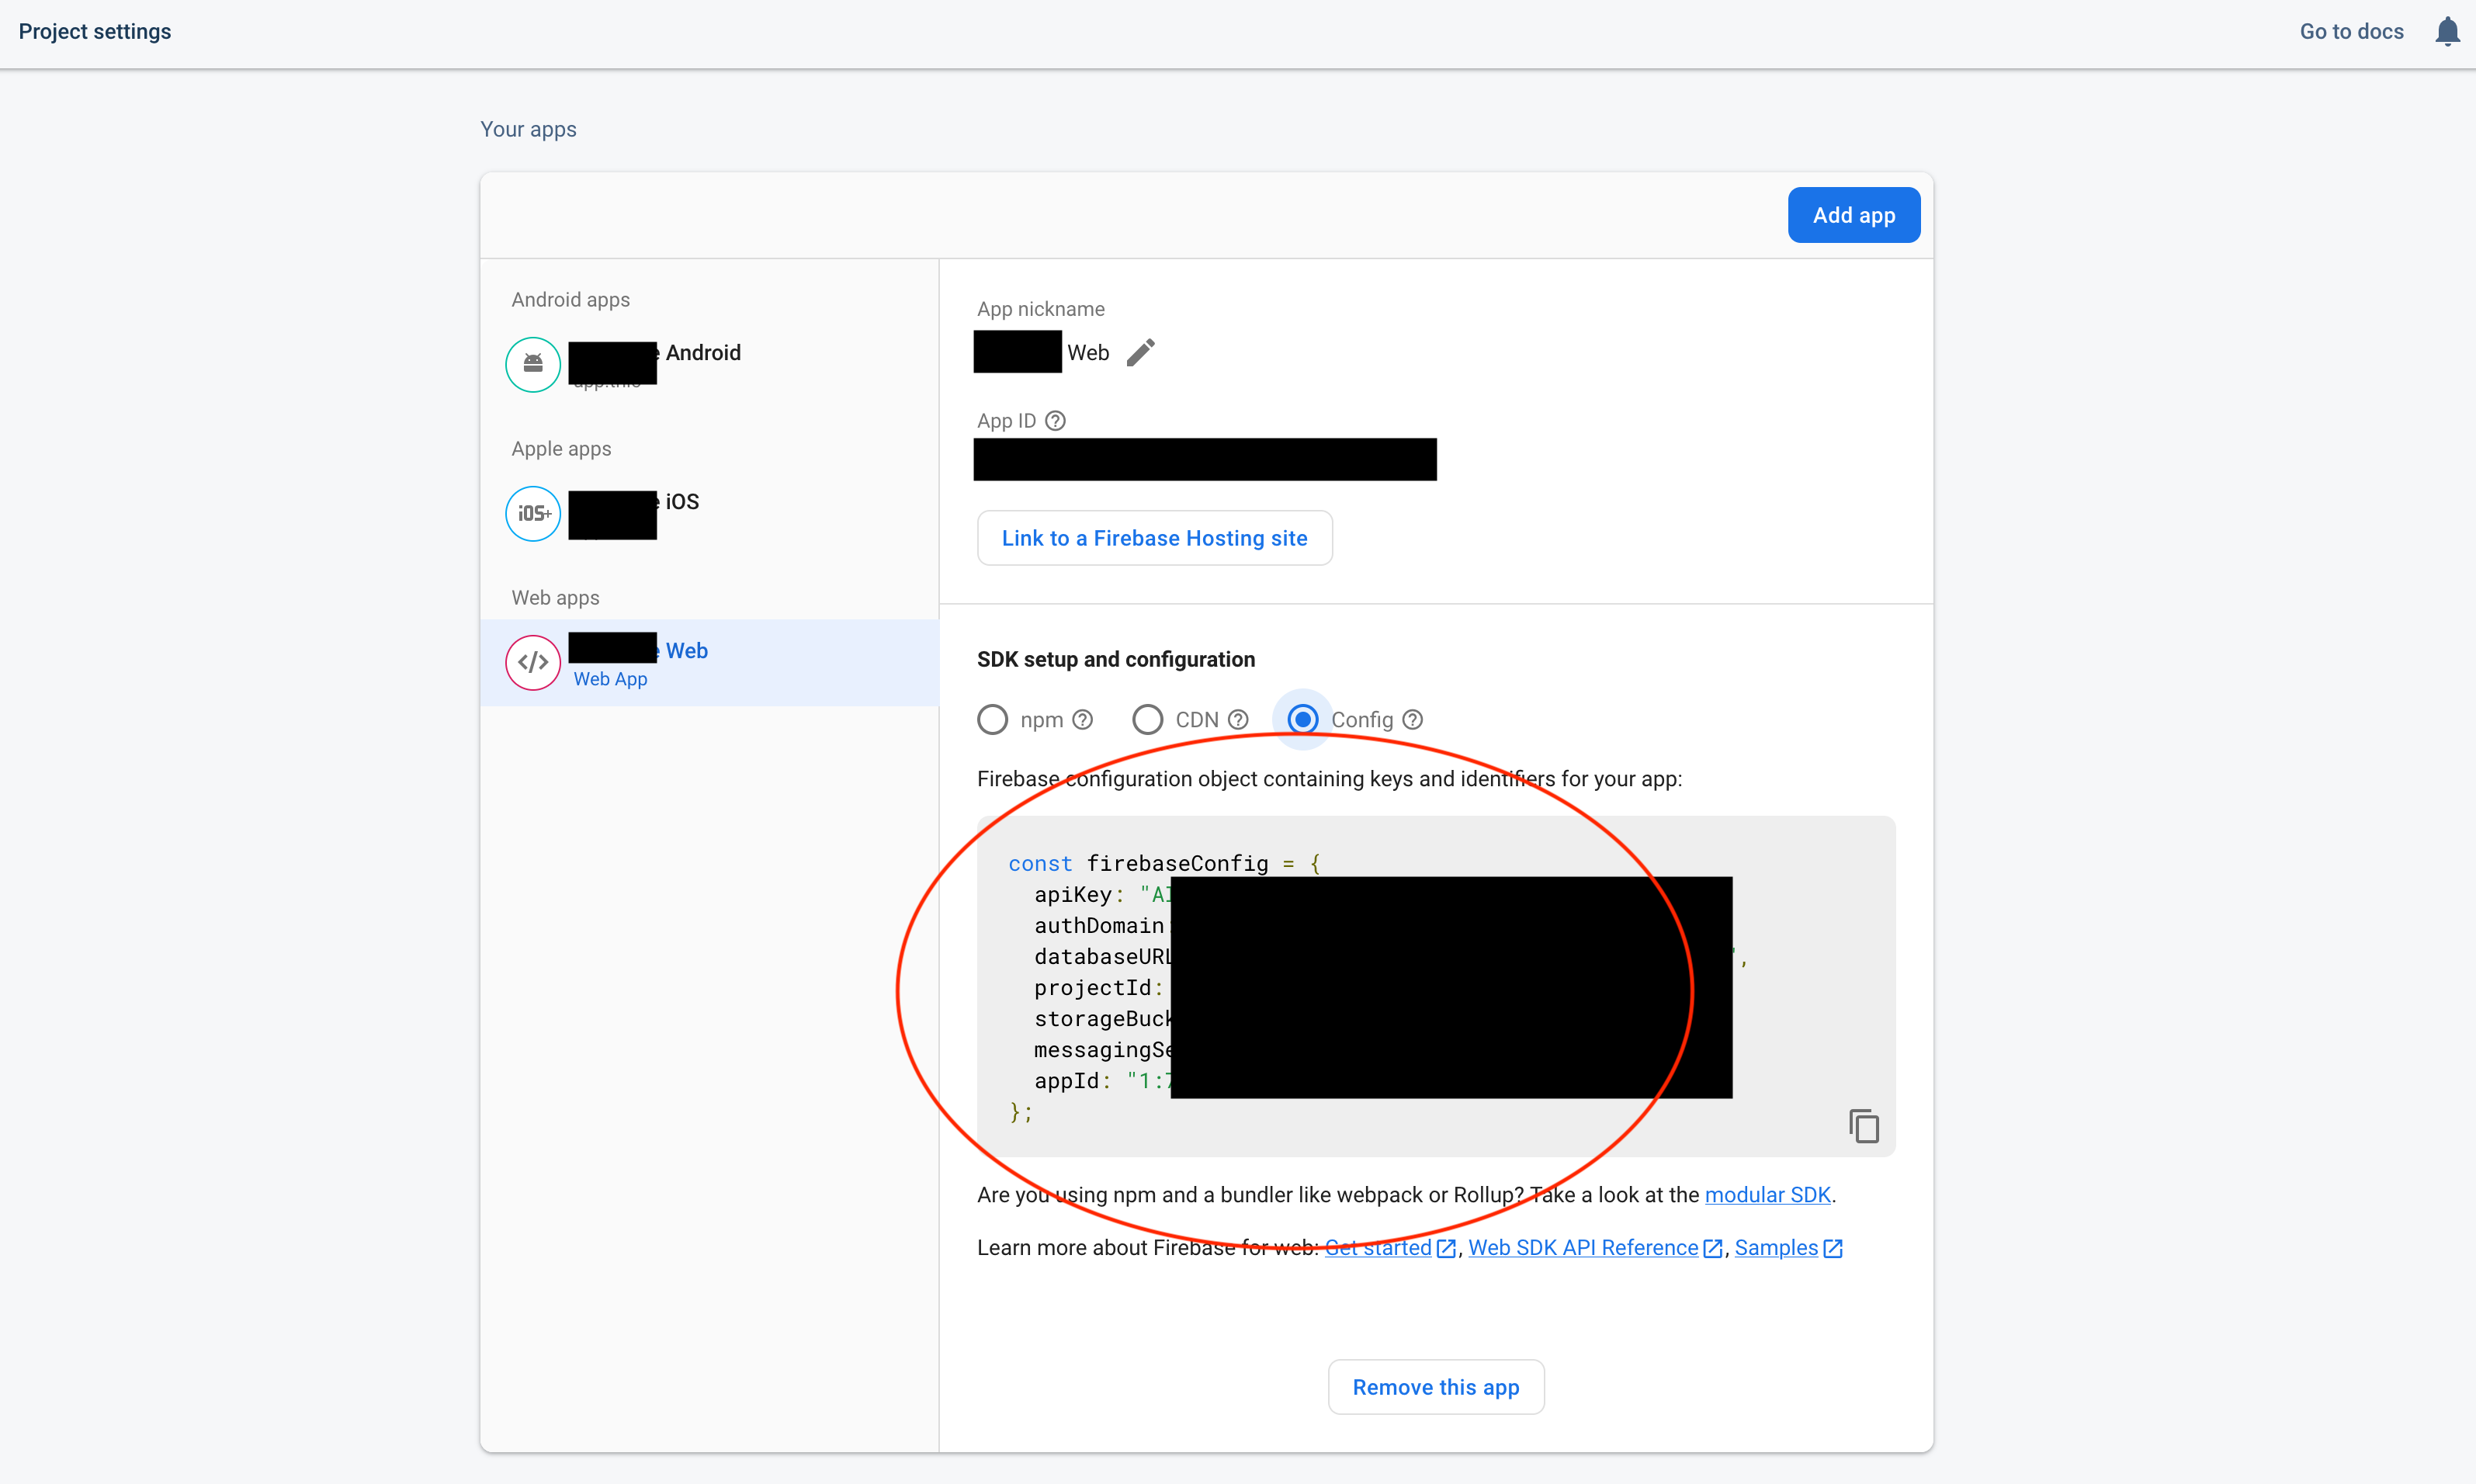
Next, in the Firebase console, go through the process of creating a new “web project” for your application. Once setup, navigate to the “General” tab of your “Project Settings” and select the newly-created Web App. In the “SDK setup and configuration” section, select “Config” and copy the displayed firebaseConfig object as shown in the image below.
Create a new empty service worker file named firebase-messaging-sw.js in the web/ directory of your Flutter project and paste the firebaseConfig object into this new file:
importScripts('https://www.gstatic.com/firebasejs/8.6.1/firebase-app.js');
importScripts('https://www.gstatic.com/firebasejs/8.6.1/firebase-messaging.js');

const firebaseConfig = {
  // Copy from Firebase as described above
};

firebase.initializeApp(firebaseConfig);
We now need to reference and register this service worker. To do so, open up the automatically-generated web/index.html file in your Flutter project and add this script block:
<script>
  if ('serviceWorker' in navigator) {
    window.addEventListener('load', function () {
      navigator.serviceWorker.register('/firebase-messaging-sw.js');
    });
  }
</script>
Finally, we need to slightly alter the way we request push notification permission from the client to allow this to work in a browser-based context. To do so, we need to provide the browser with a web certificate. Luckily, this is easy to do in Firebase.
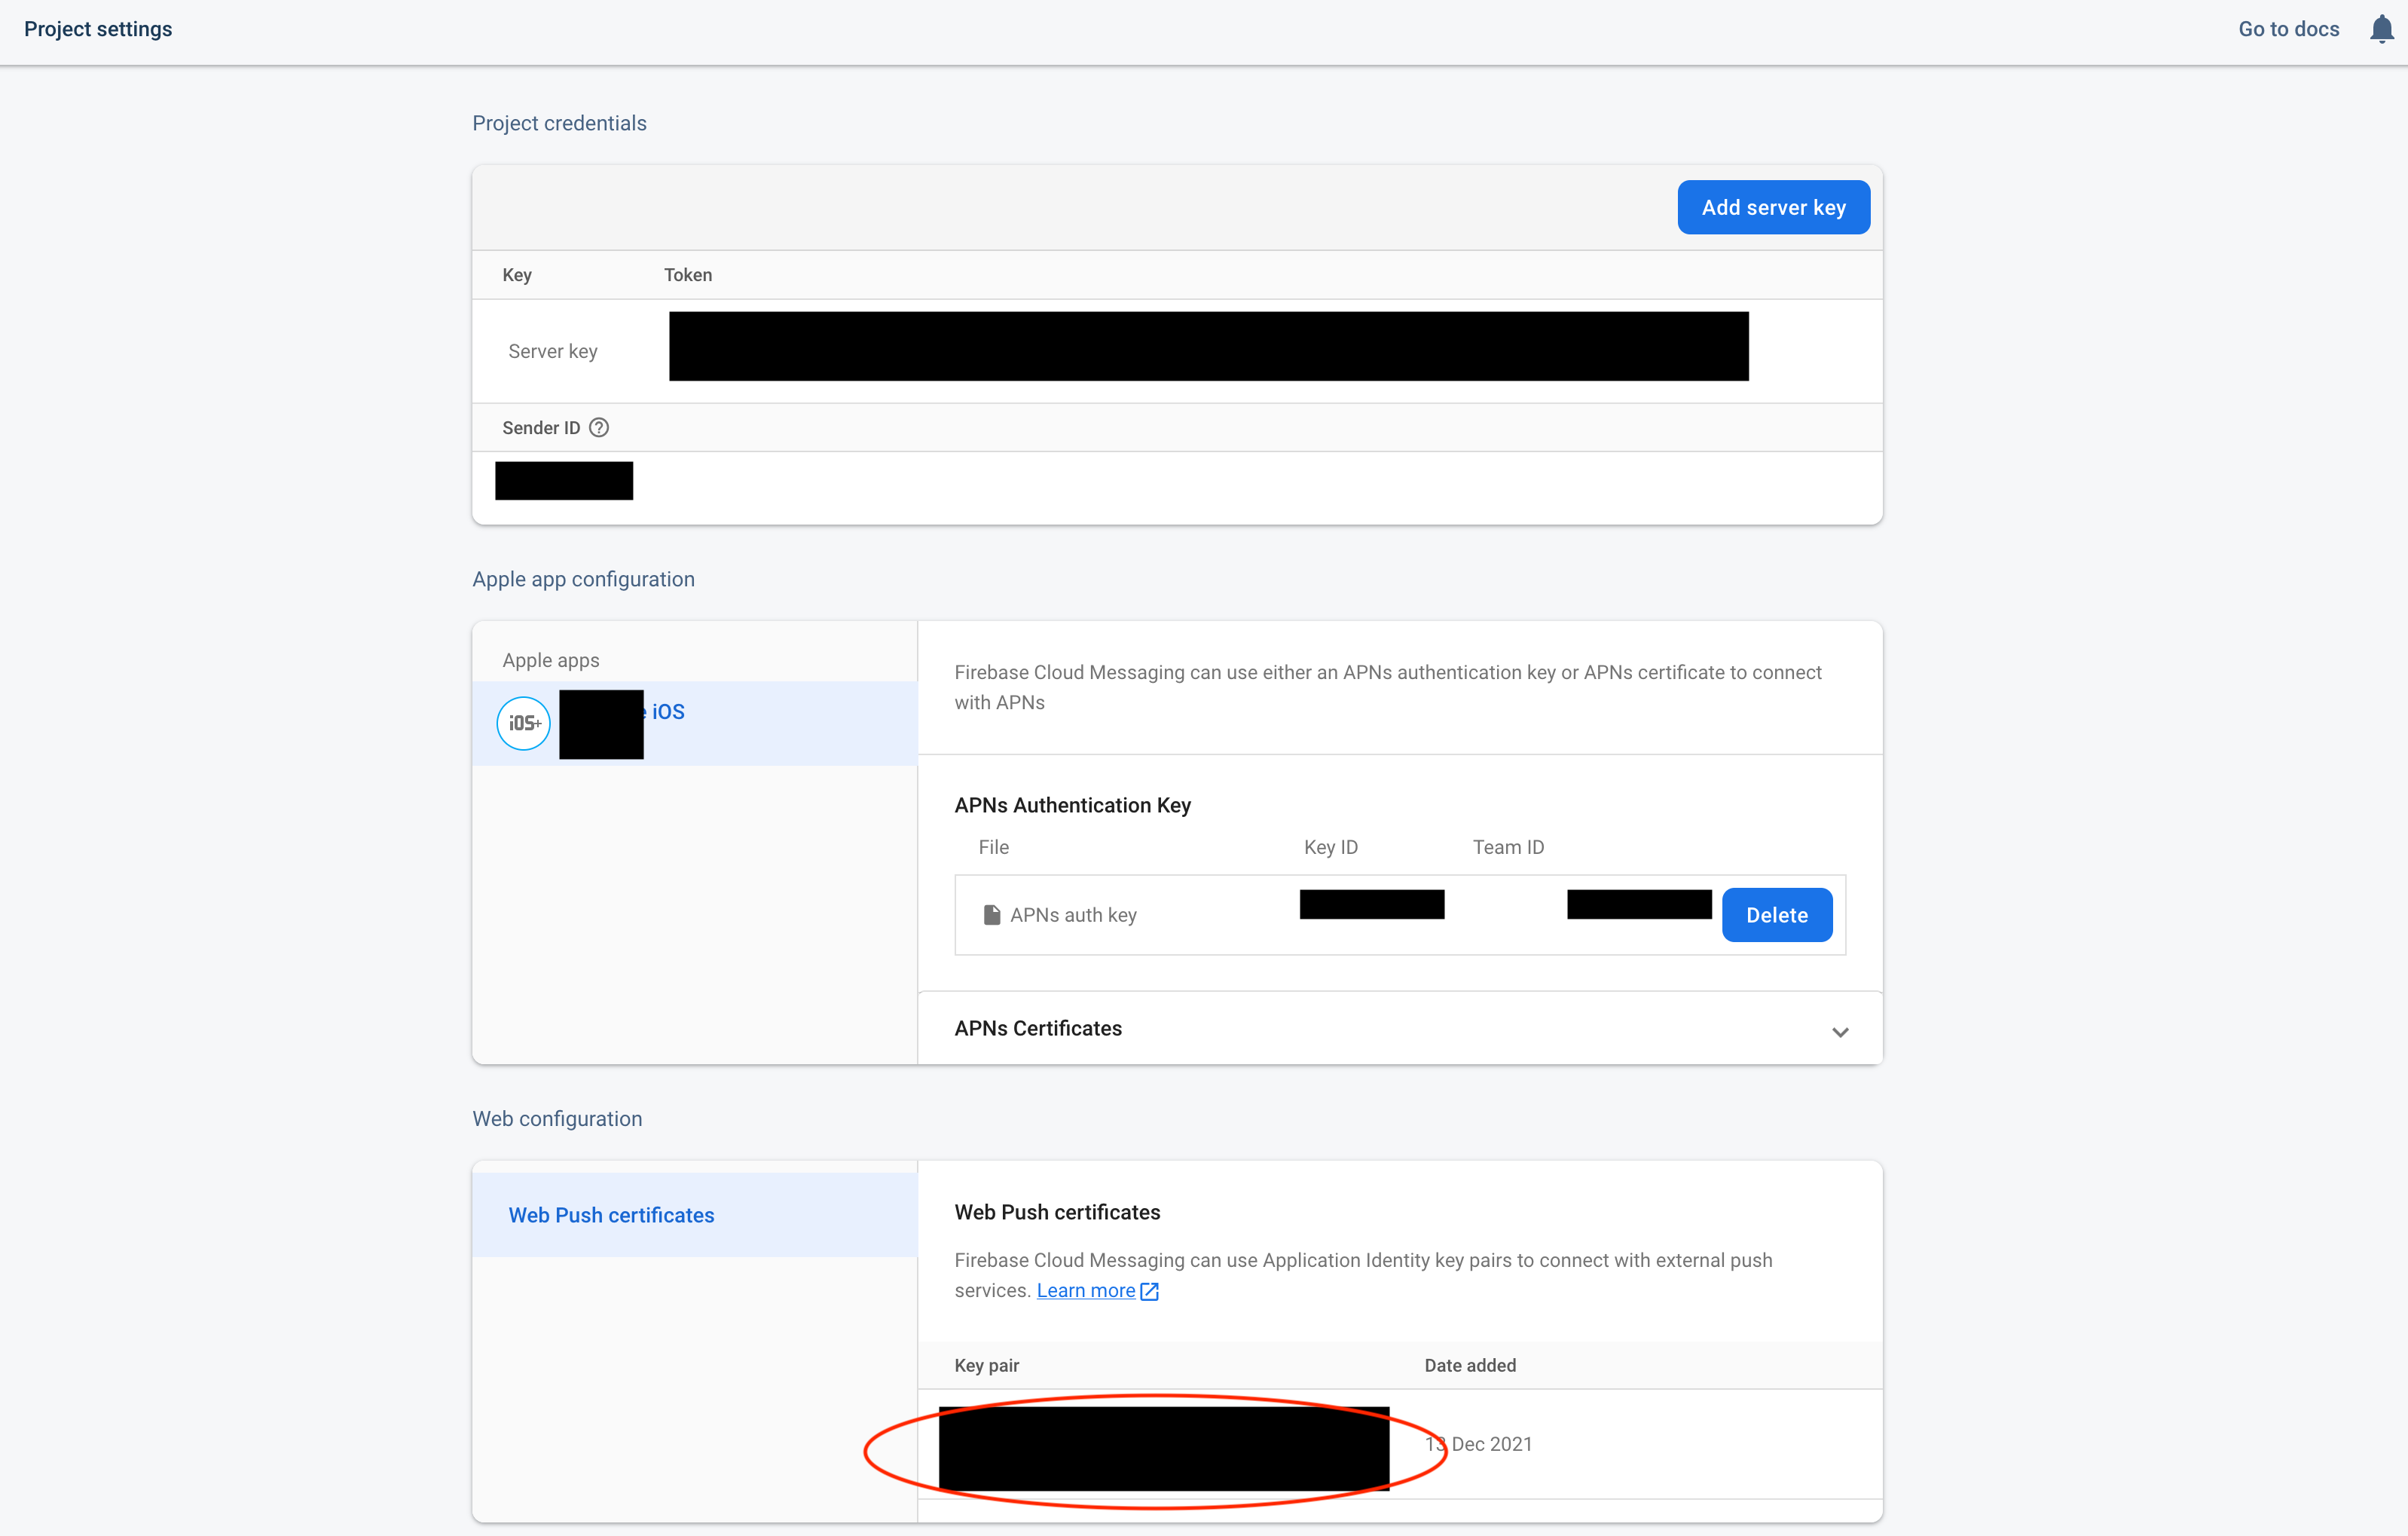
Back in the Firebase console navigate to the “Cloud Messaging” tab of your project’s settings. In the “Web configuration” section, create a new Web Push certificate and, once done, make a note of the key pair displayed:
Somewhere in your Flutter app’s Dart code, you probably have something along these lines when requesting push notification permission for your iOS apps:
FirebaseMessaging _firebaseMessaging = FirebaseMessaging.instance;
await _firebaseMessaging.requestPermission(
  alert: true,
  badge: true,
  sound: true,
);
String _pushToken = await _firebaseMessaging.getToken();
Make a change to that final line such that we now pass in the keypair you just created in Firebase:
// ... Previous code
String _pushToken = await _firebaseMessaging.getToken(
  vapidKey: '<KEYPAIR>'
);
And that’s it! Your application will now request permission for push notifications when it is delivered over a secure connection. Build the web version of your Flutter app (flutter build web) and then deploy the web/ directory to your host of choice.

If permission is granted then the browser will receive and display notifications when they are sent - even if the browser tab for your app is currently closed! The system should also function on supported mobile browsers too, though please take a look through Caveats below.
Caveats
Although browser web push is gaining more and more support (and is already available in nearly all modern desktop browsers), they aren’t yet ubiquitously available. Lookin’ at you, Safari.
On Safari (either on my Mac or iPhone) the request permission flow would cause the app to throw an error and hang. To alleviate this I wrap the Firebase block in a try/catch and show a dialog to warn the user when push is unavailable.
try {
  // Firebase init and getToken code
}
catch (error) {
  showCupertinoDialog(
    context: context,
    builder: (BuildContext modalContext) => CupertinoAlertDialog(
      title: new Text('Unable to request push permissions'),
      content: new Text('Push may not be supported on your device.'),
      actions: <Widget>[
        CupertinoDialogAction(
          isDefaultAction: true,
          child: Text('OK'),
          onPressed: () => Navigator.of(modalContext).pop(),
        ),
      ],
    ),
  );
}
There may be a more elegant solution to detect this up-front, but I was unable to find one that worked nicely across web and mobile. Please let me know if there is a better approach to handling Safari and other unsupported browsers!
Conclusion
In this post I’ve briefly walked through the set-up of Firebase push notifications in a Flutter web app, with an approach that should allow you to maintain a single codebase and maintain functionality across web and native mobile app builds.
Although I enjoy using it, I feel that I’m still relatively inexperienced with Flutter. I am continually learning about new and interesting concepts and I’ll try and cover more about these as I discover them!